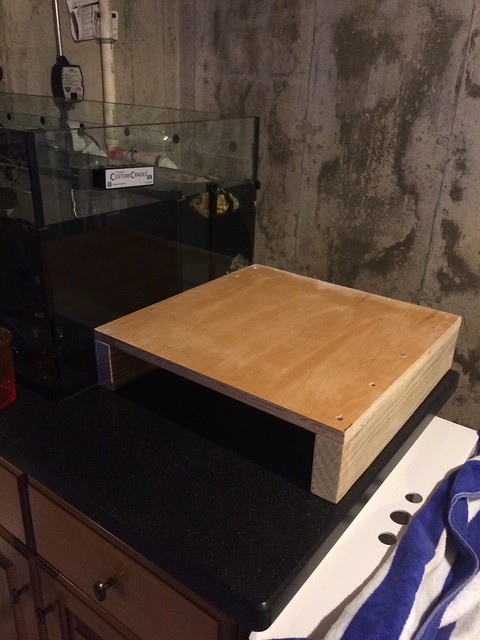
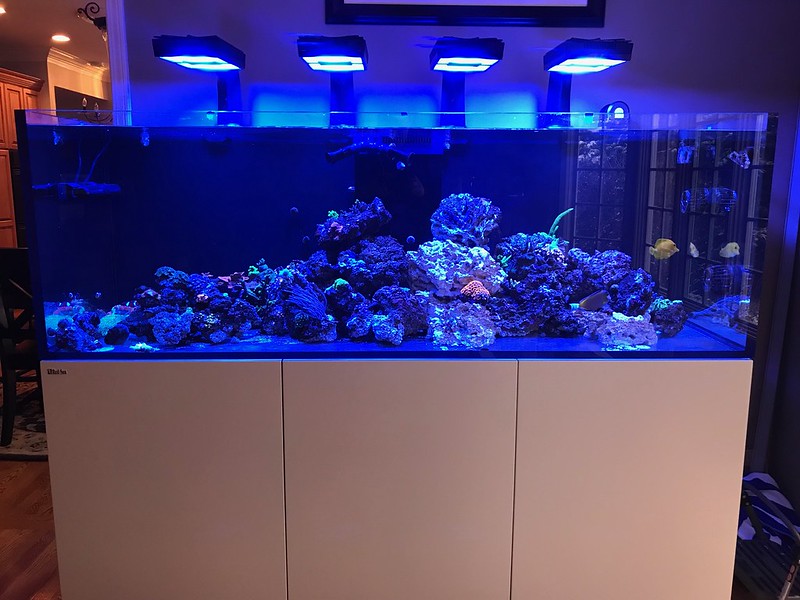
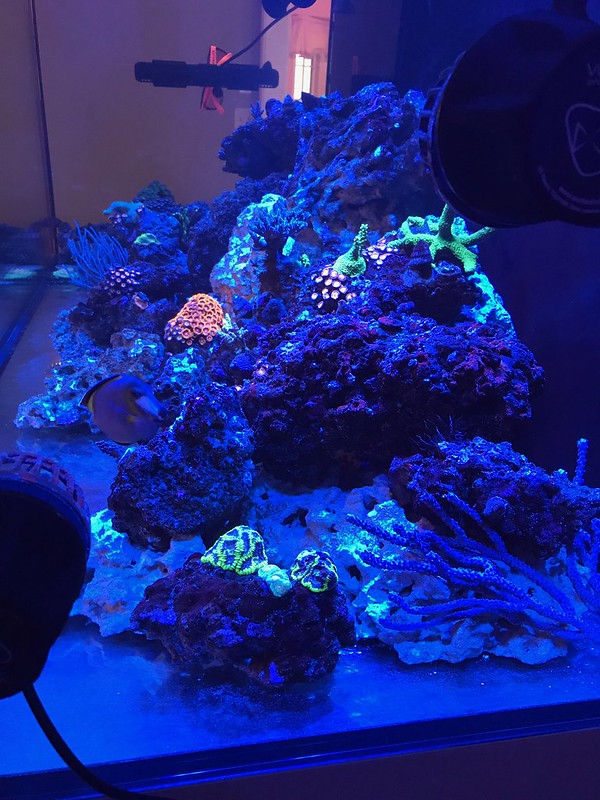
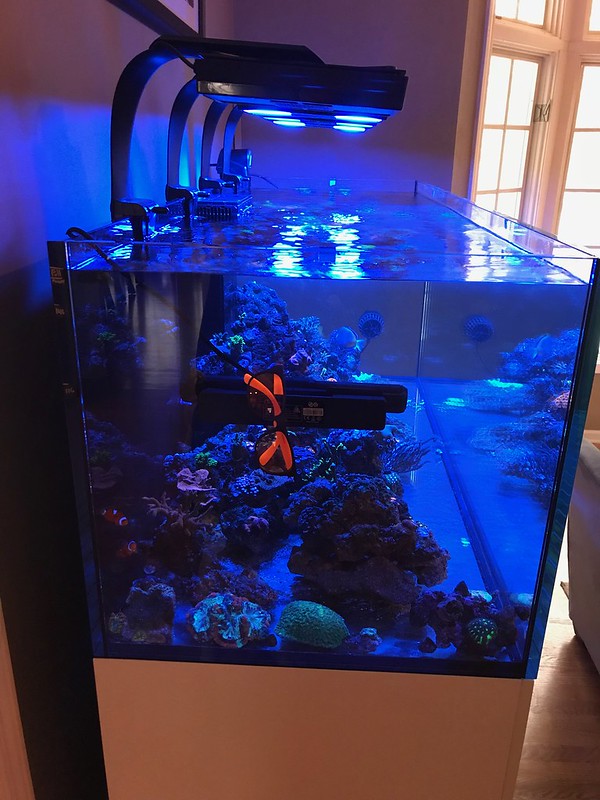
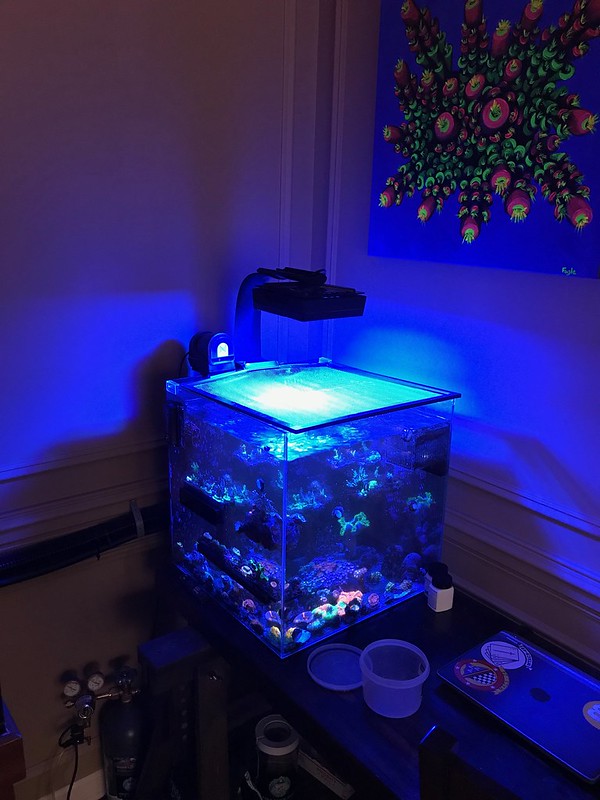
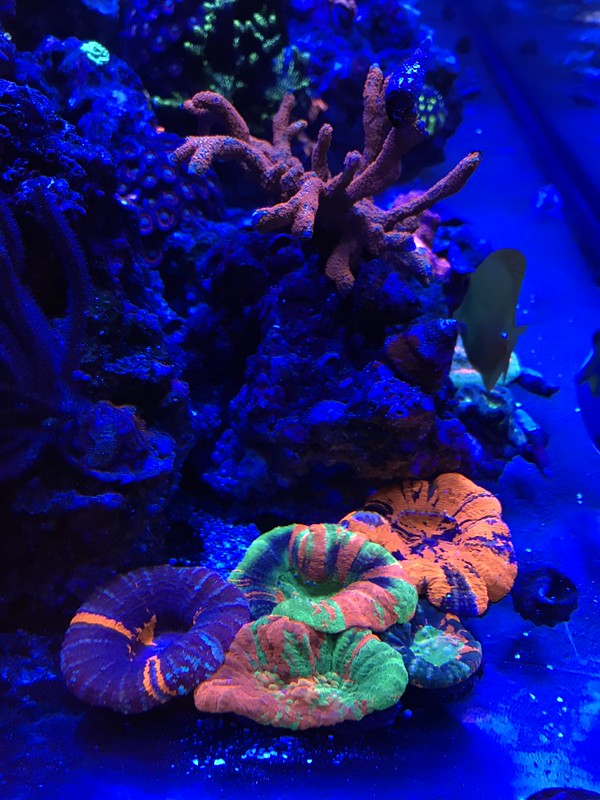
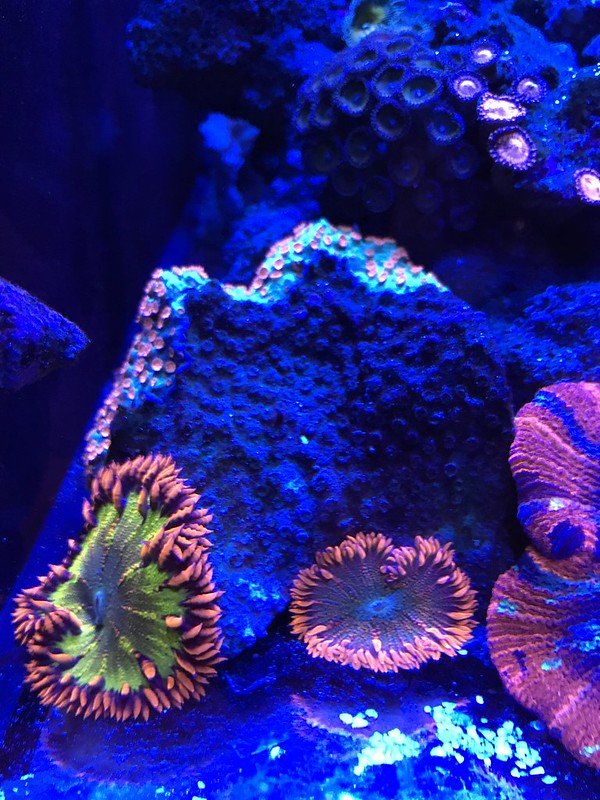
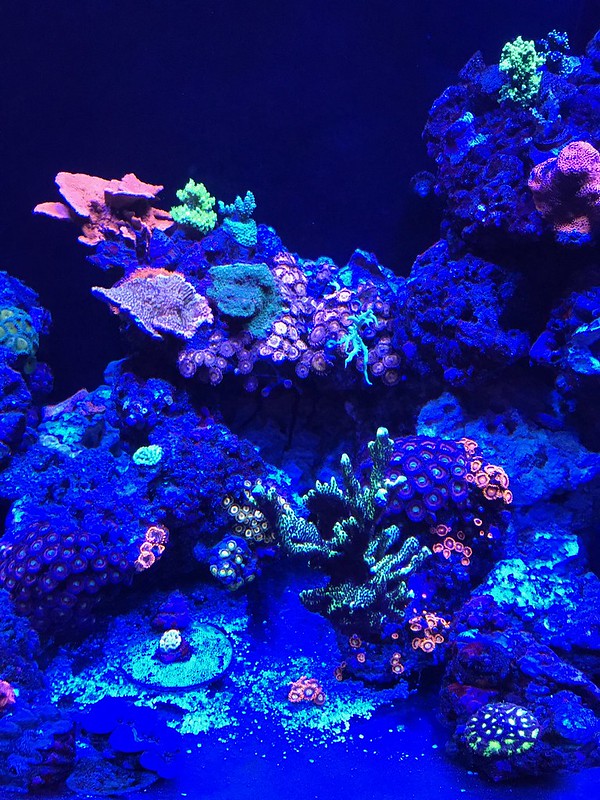
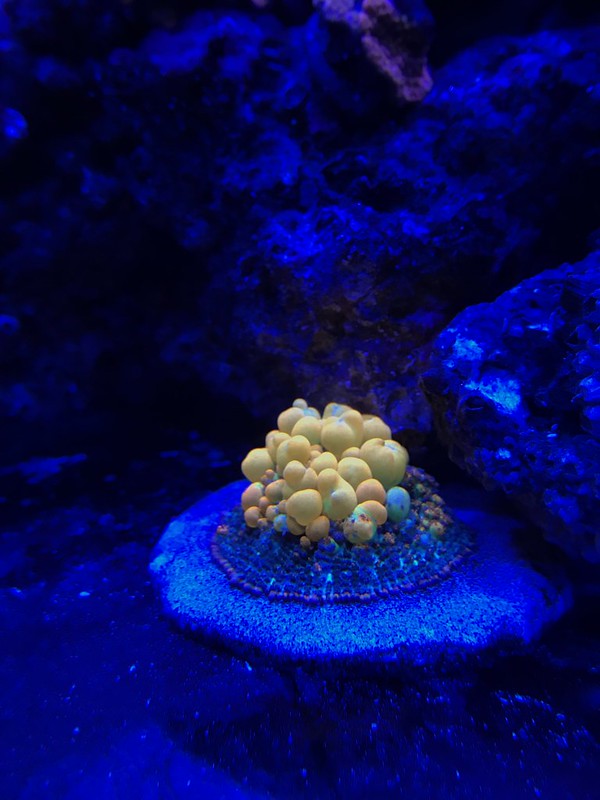
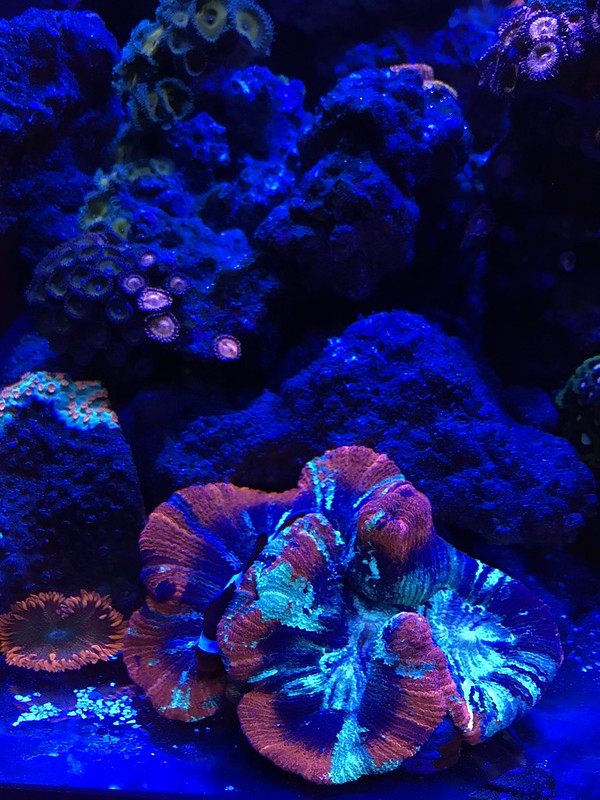
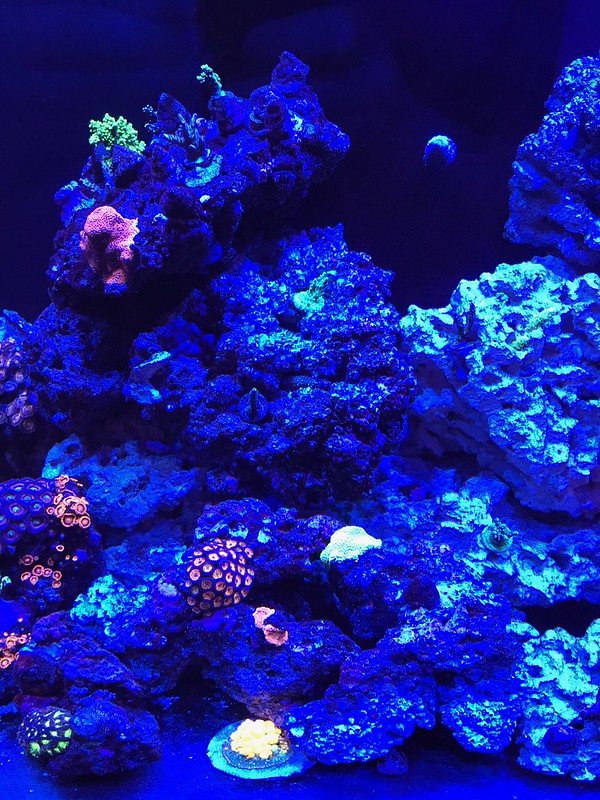
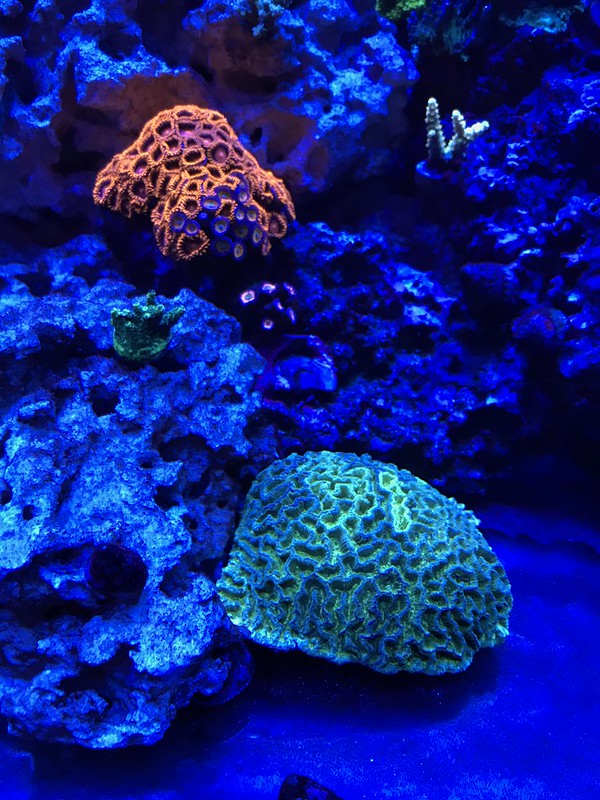
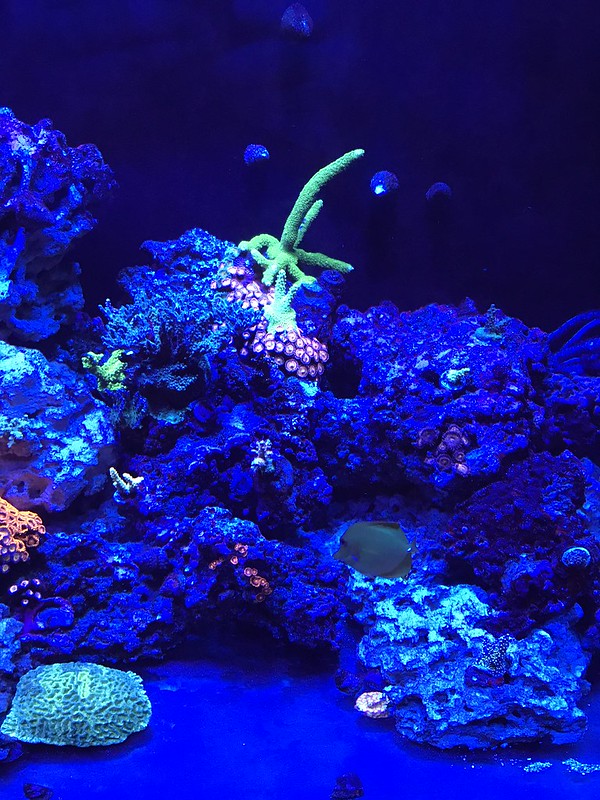
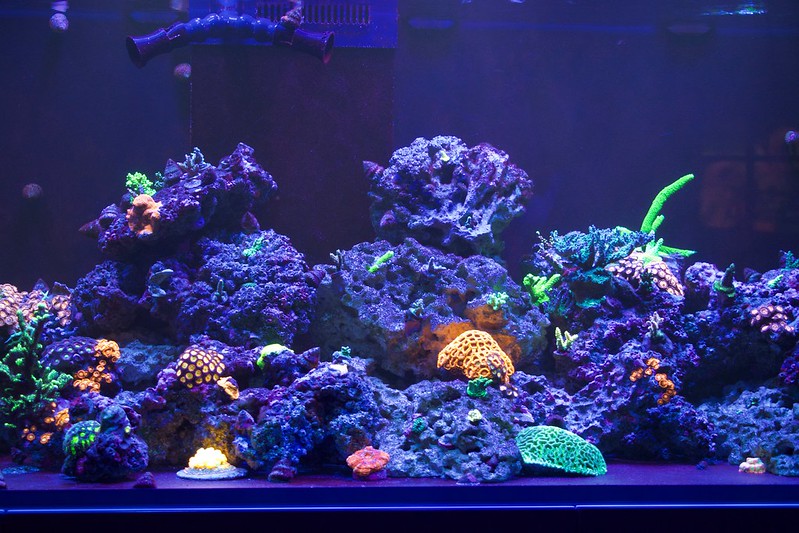
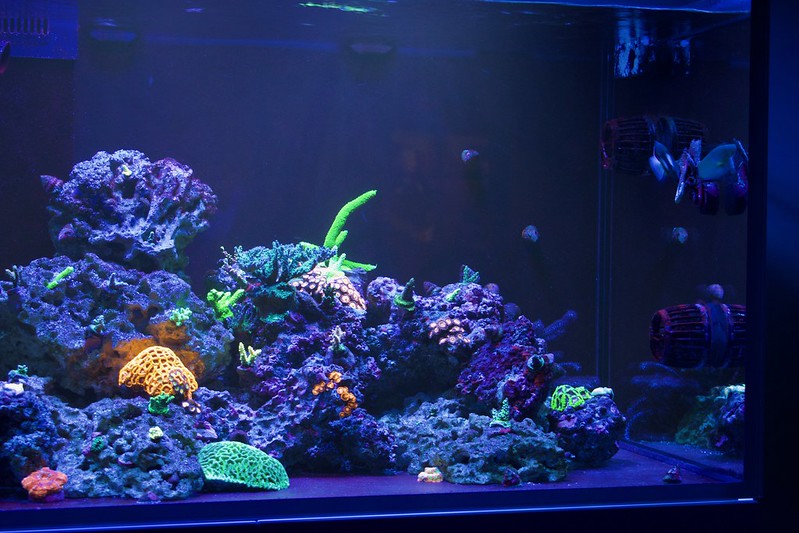
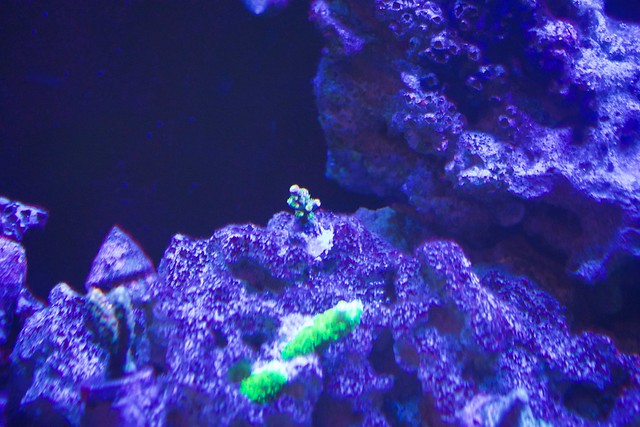
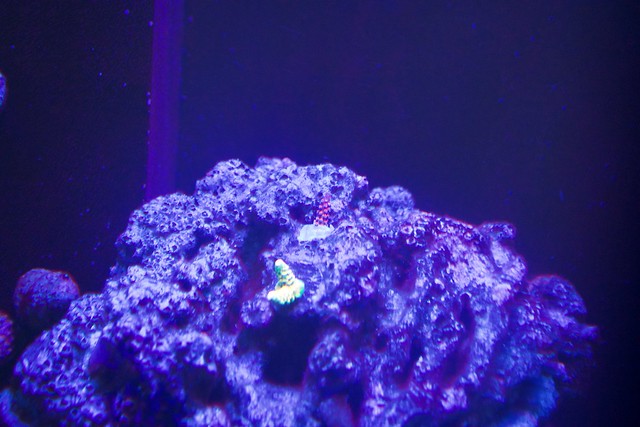
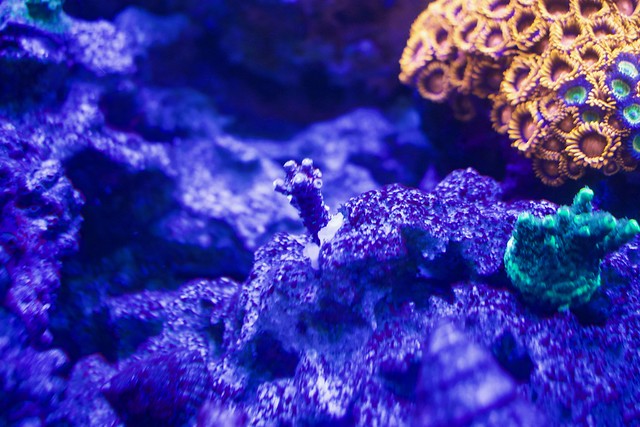
This past weekends project... get the wiring up on the board!
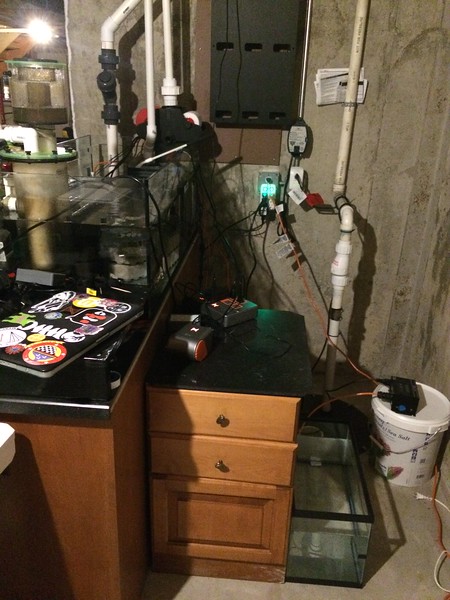
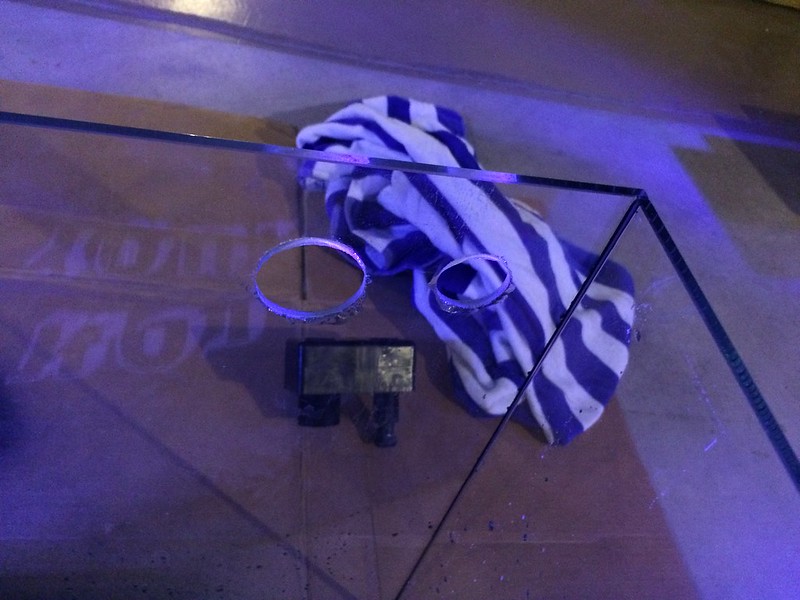
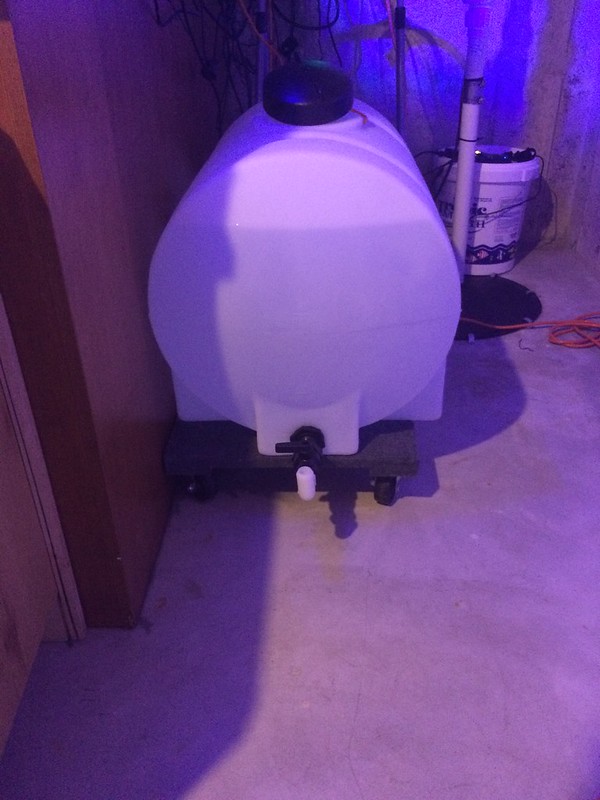
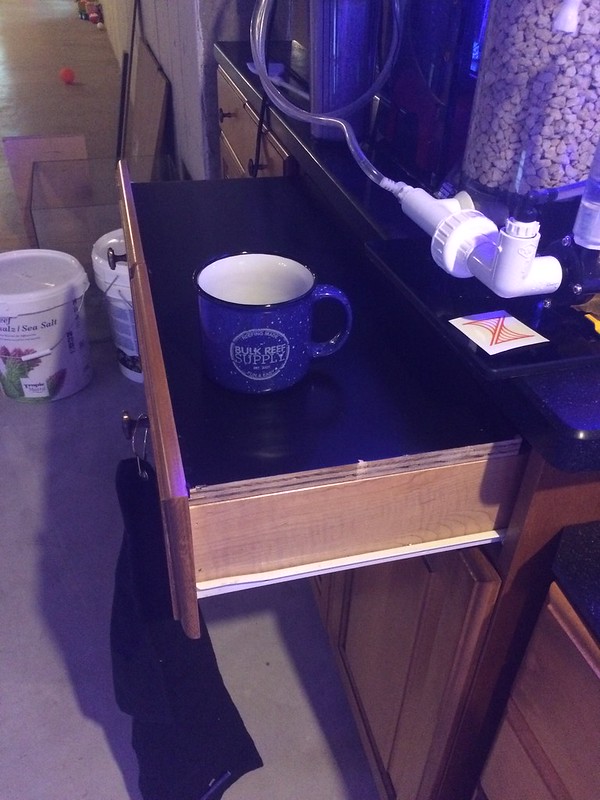
The small cabinet housed all the electrical for my 90, so rather than unravel everything upstairs, I just moved the whole cabinet for the time being, then took it apart in the basement. The lower part housed my 10gallon ATO. I was smart and took that out before the move, but didn't think anything of my DOS.. Big mistake. While moving the cabinet, I tripped over a tube on the ground, cabinet crashed, spilling about a liter of kH solution and mG all over the floor, which instantly created a nice chemical slush. Luckily this was on my basement floor, some paper towel rolls and a mop later things were good. My DOS containers didn't survive the crash. One container has a huge crack in it, the others sensor post broke off. on the plus side, prior to this one of the DOS sensors appeared to stop working as I wasn't reading fluid levels in the containers anymore, and now I should be able to use a DOS pump for future automatic water changes!
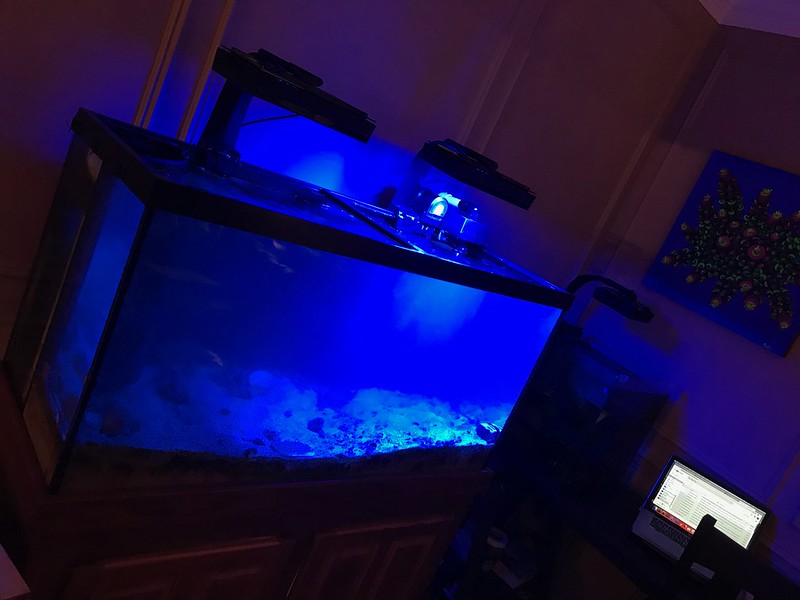
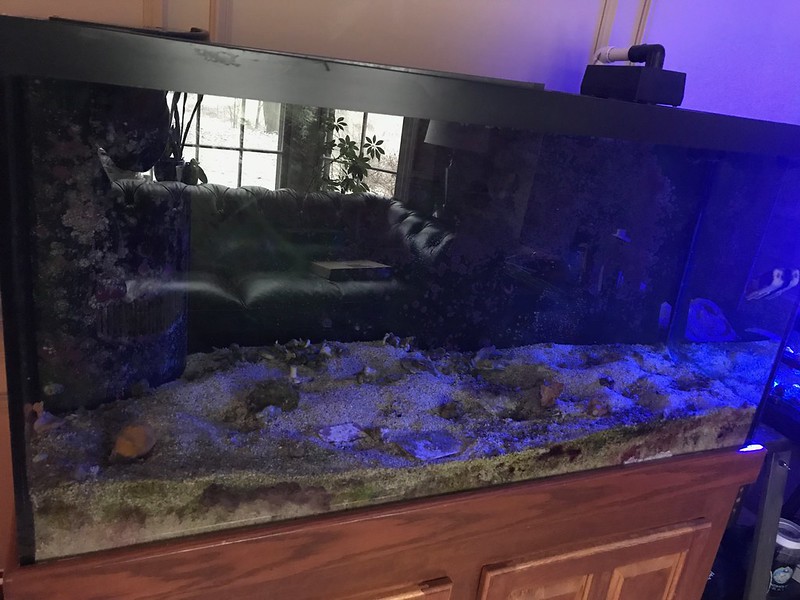
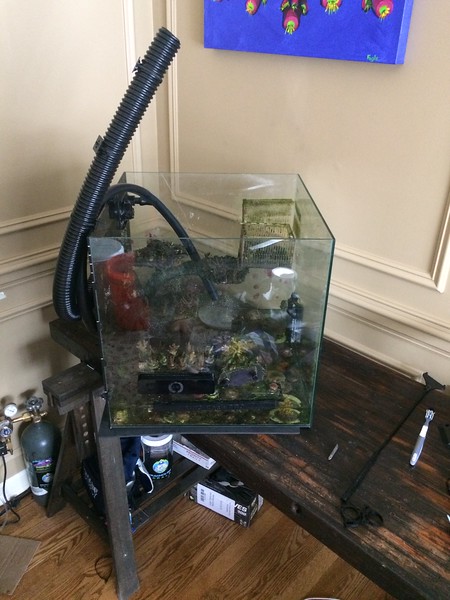
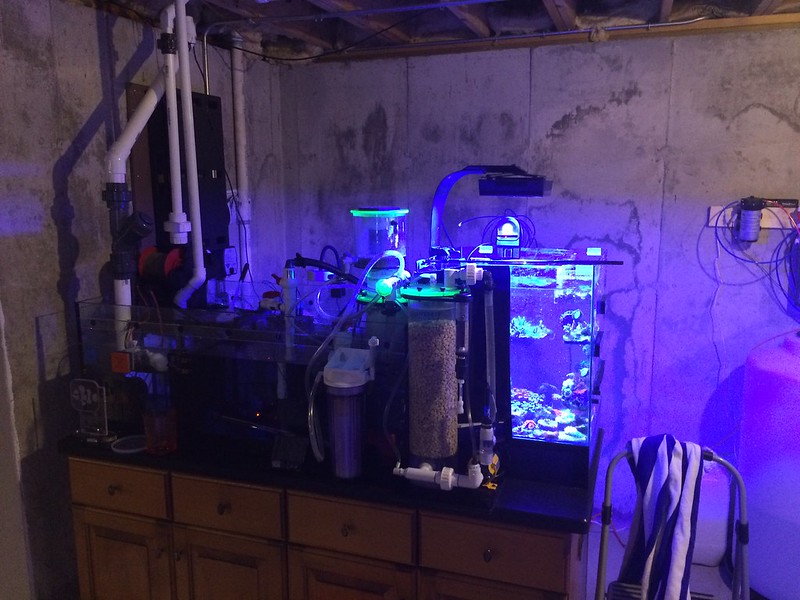
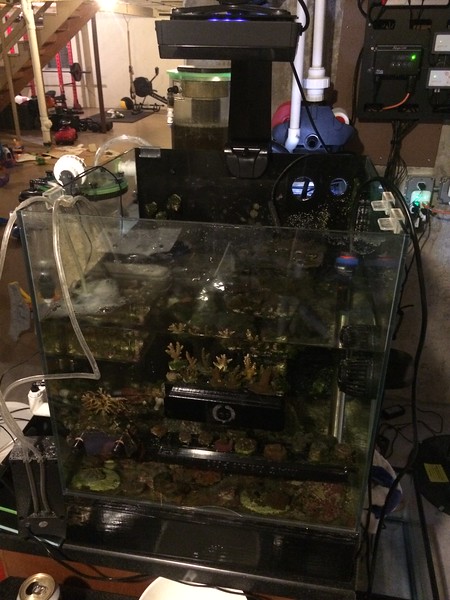
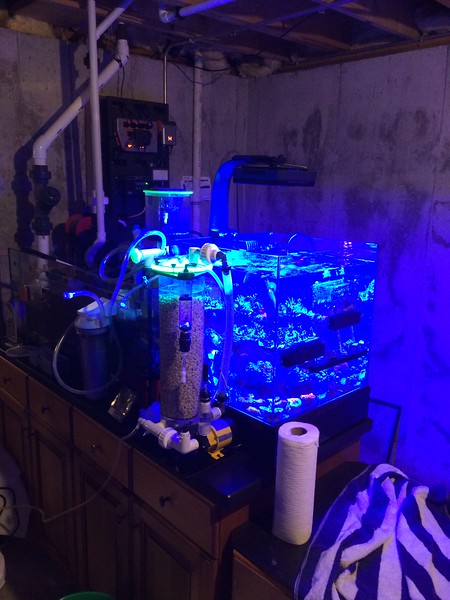
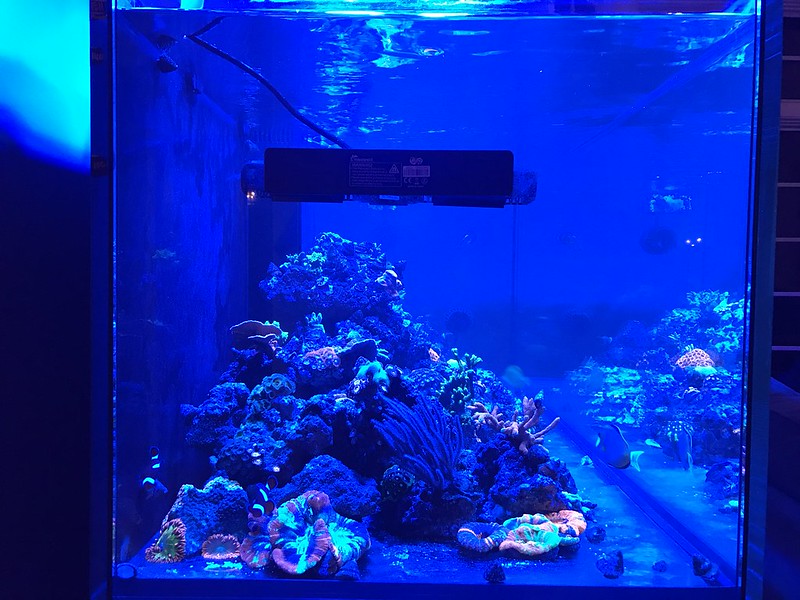
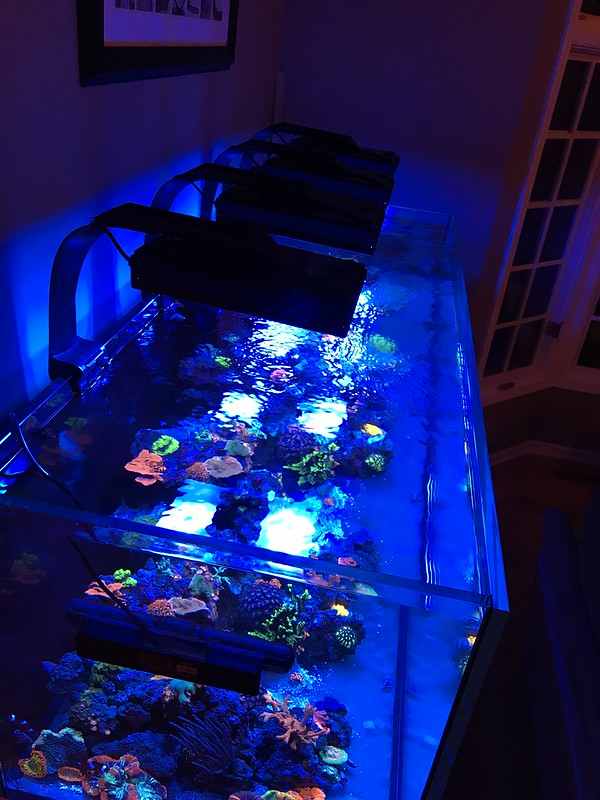
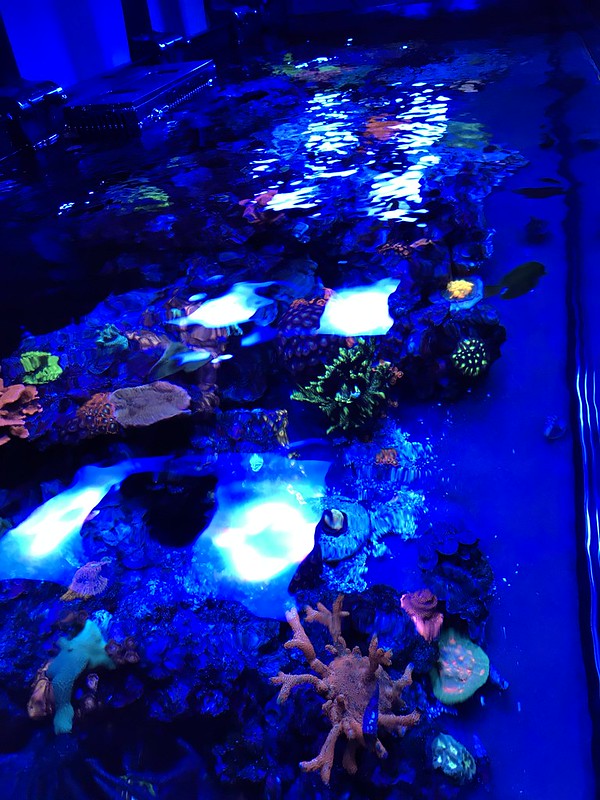
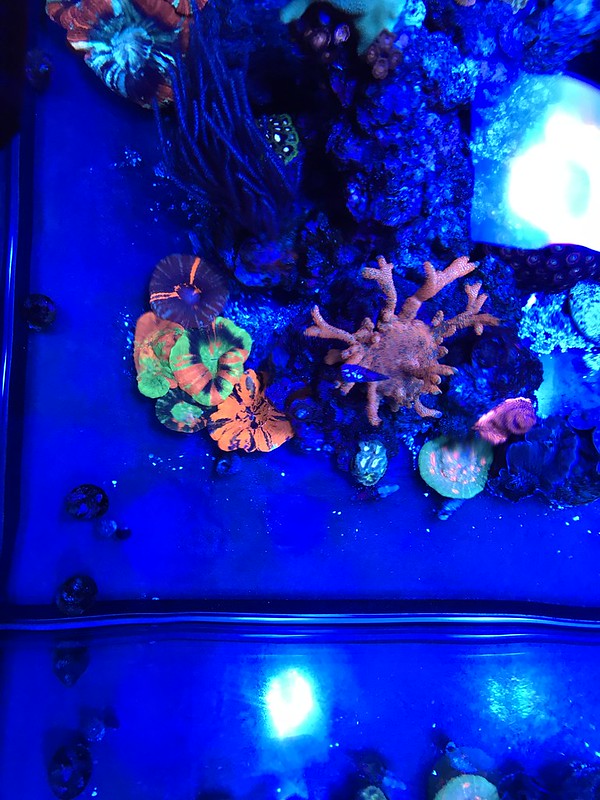
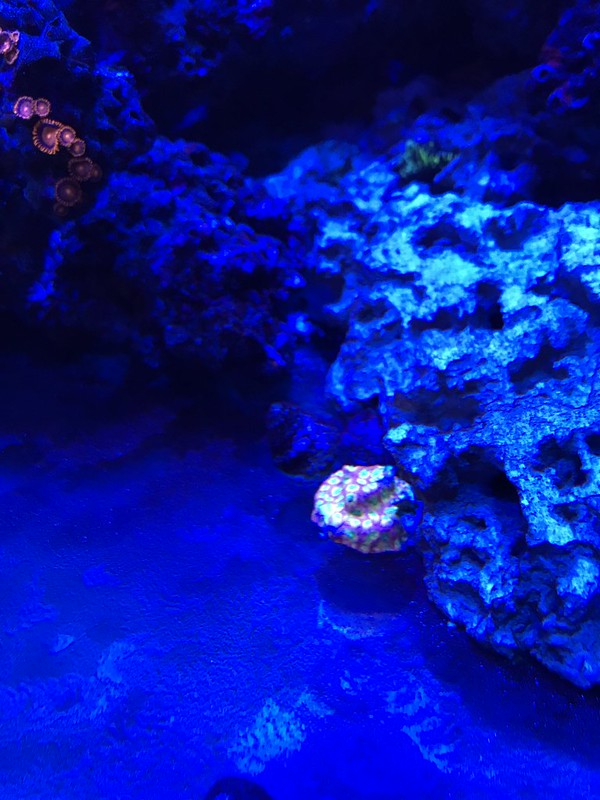
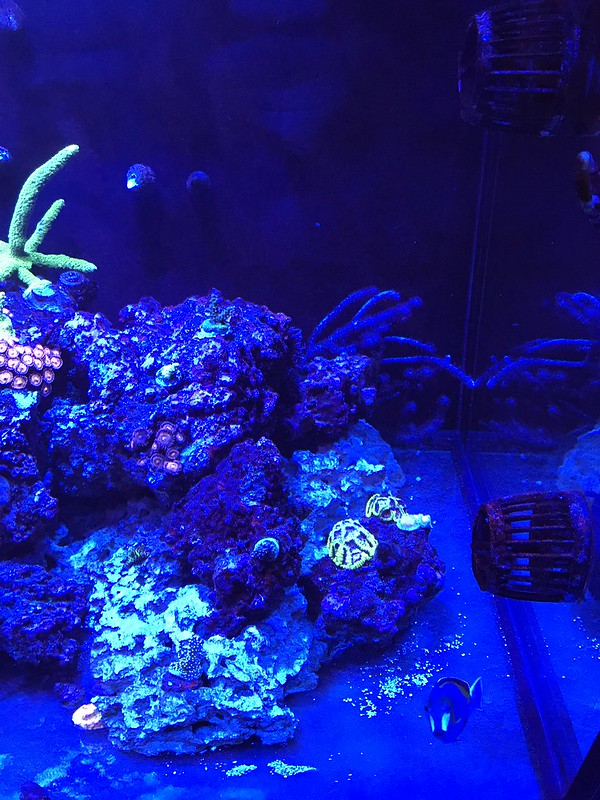
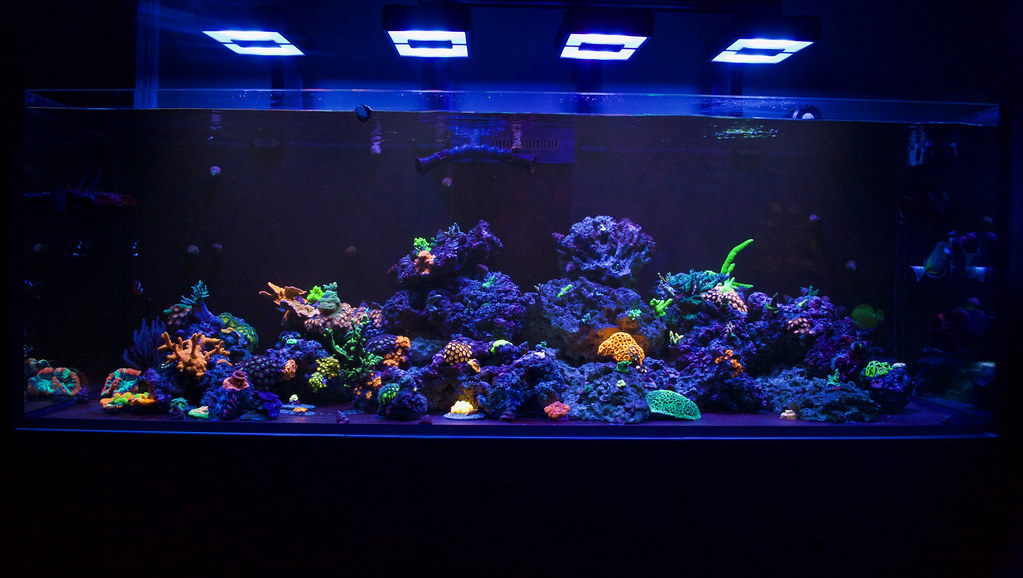
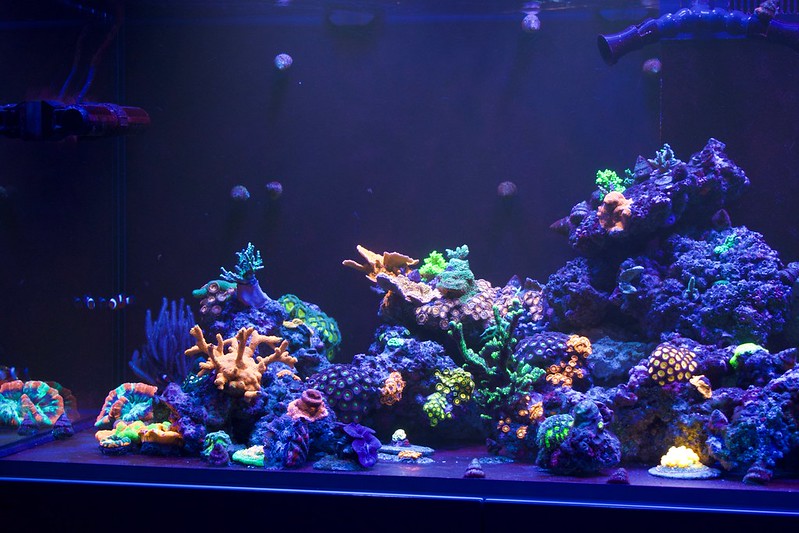
The other project from this weekend, move the frag tank and Ca Reactor. Last picture of the frag tank before the move! I should just be able to drain most of the water into buckets, move the tank to the basement with everything in it, refil, plumb into the sump and wire it all back up. Or so I thought it would be that easy........
- - - Updated - - -
Frag tank is down!
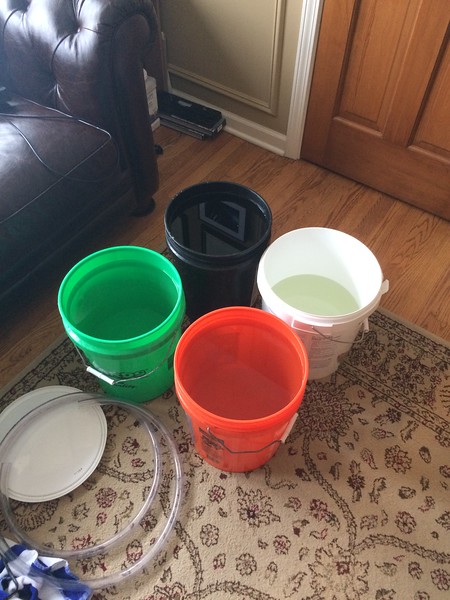
bucket brigade worked for the move
Moved to the basement and filled for setup. There was a bit of crud at the bottom of the tank
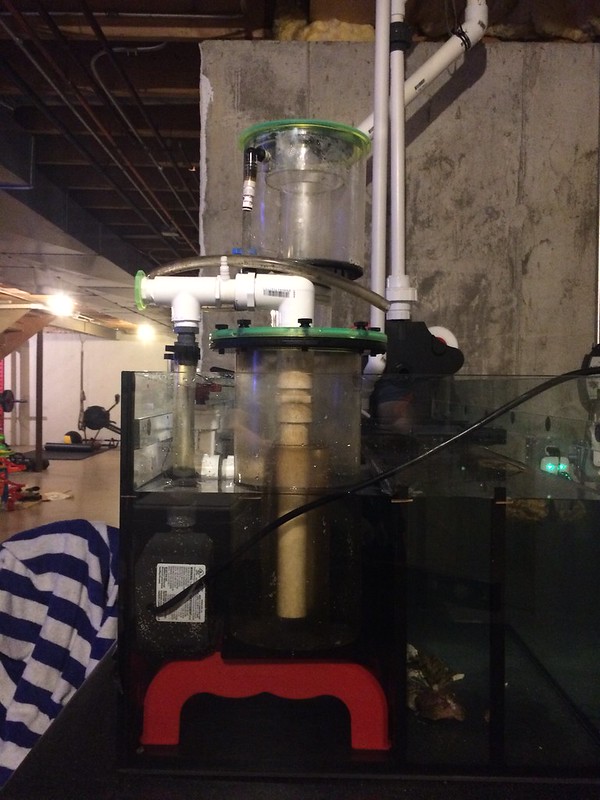
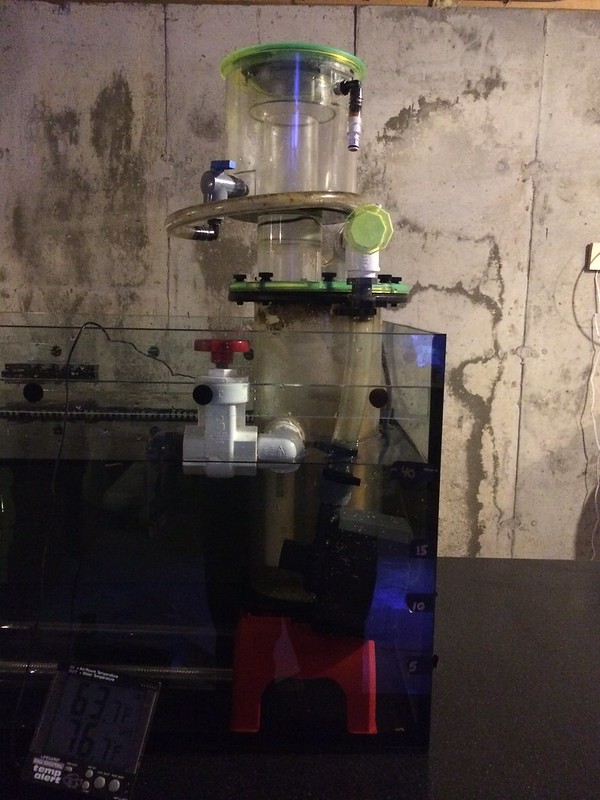
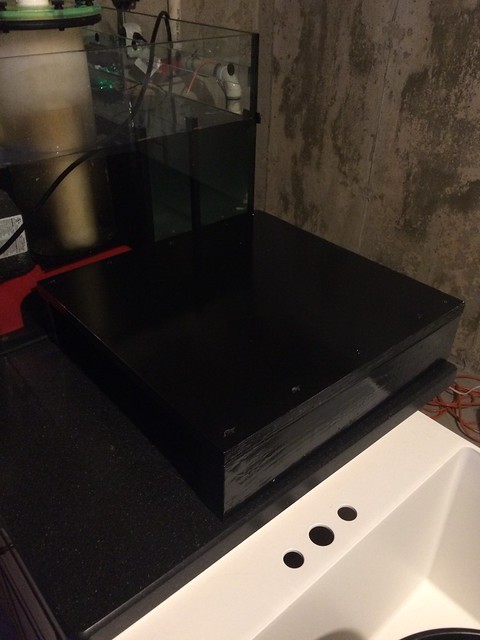
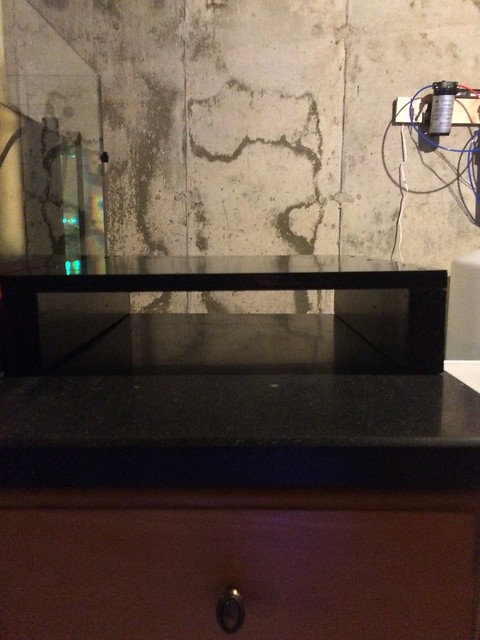
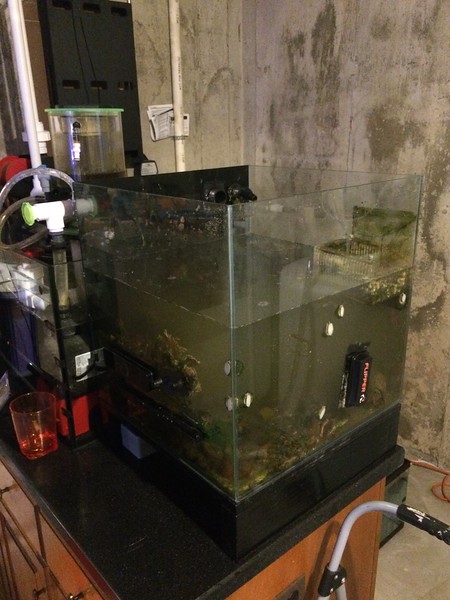
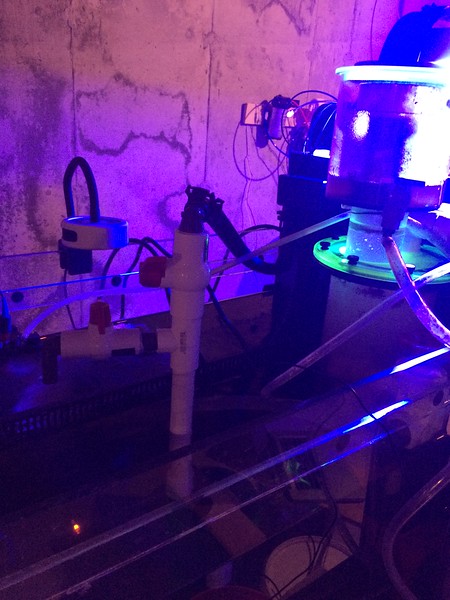
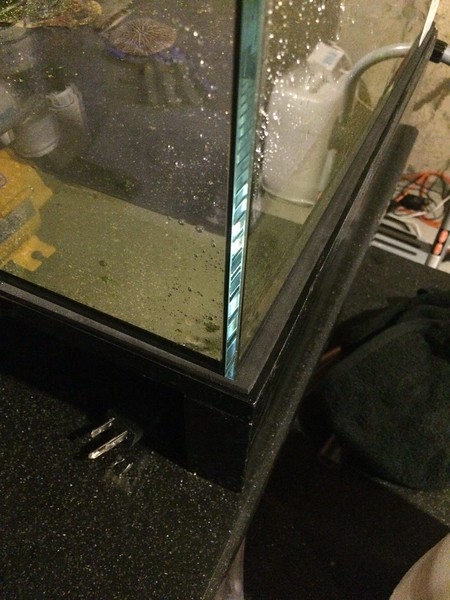
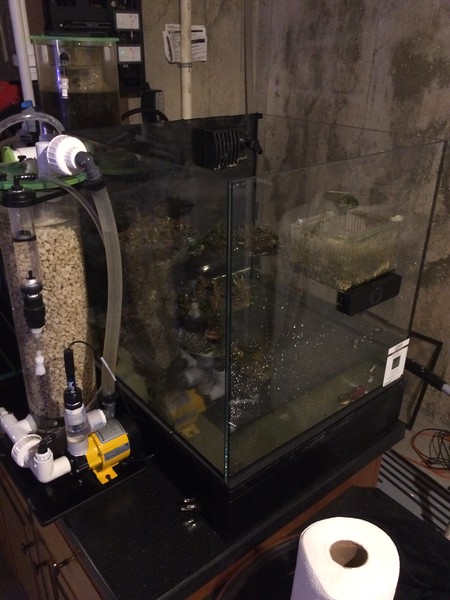
Prior mini stand height measurements worked out perfectly. This is how close of a fit the frag tank and its over flow are to the sump.
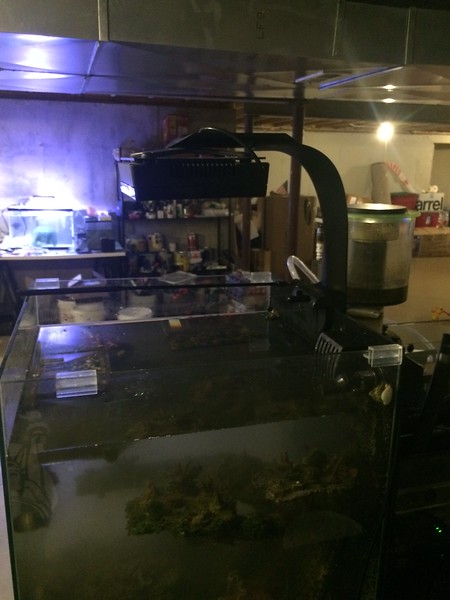
Light is reinstalled
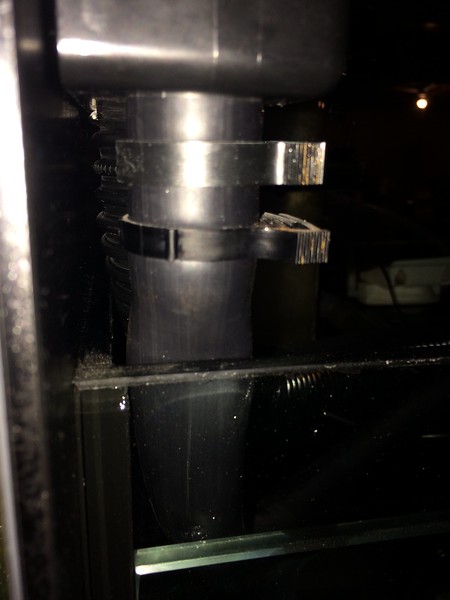
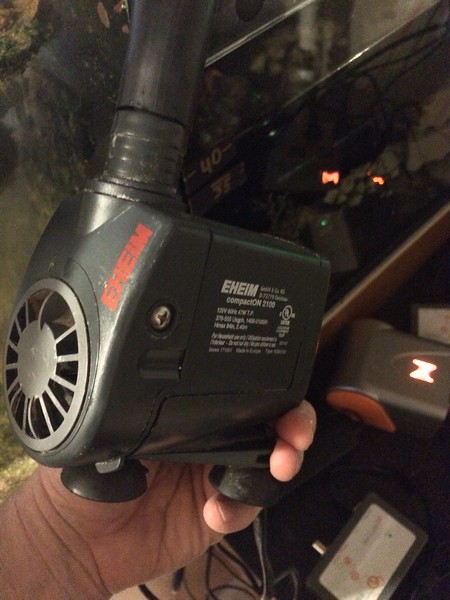
Initially, I used this pump, which was previously used for mixing salt water. Placement was perfect, however this turned out to be way to much flow
So since the 90gallon I have is going to be taken down anyway, I used that return pump because it already had a valve attached to regulate the flow.
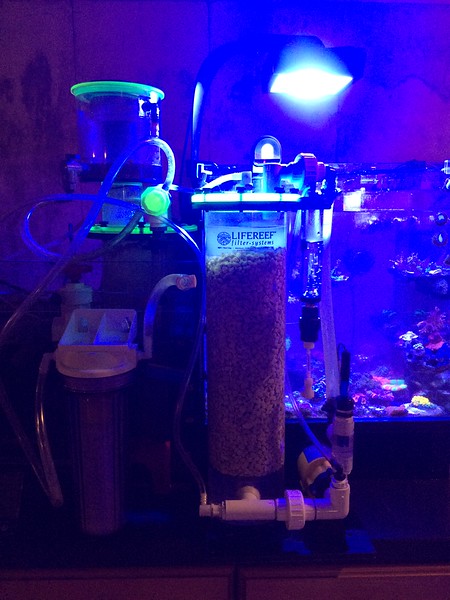
I also got the calcium reactor brought down and in place.
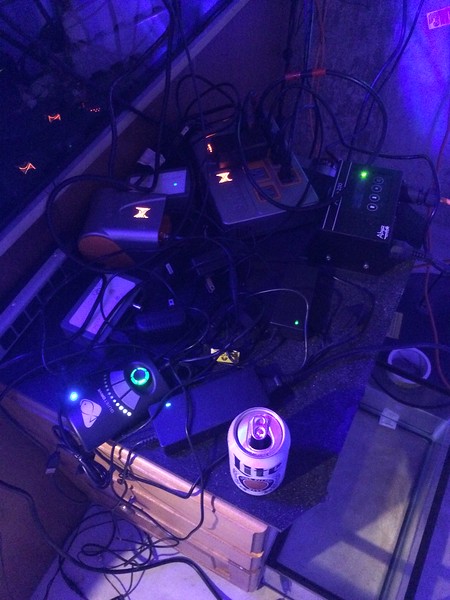
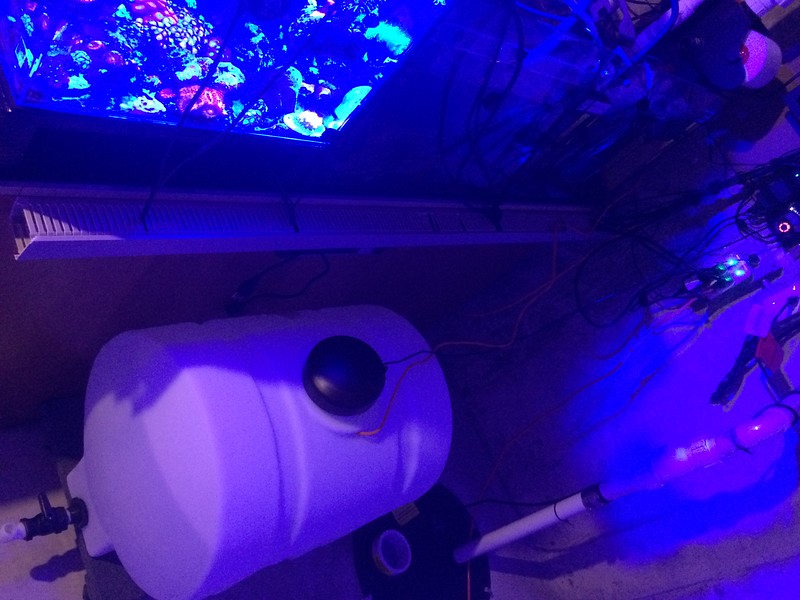
Still need to organize the rats nest of wires in the basement.
- - - Updated - - -
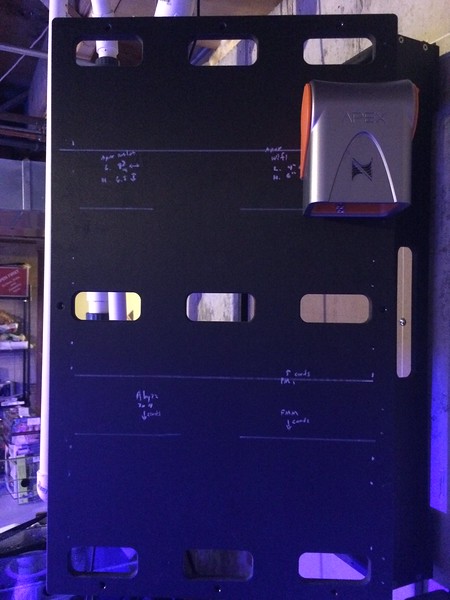
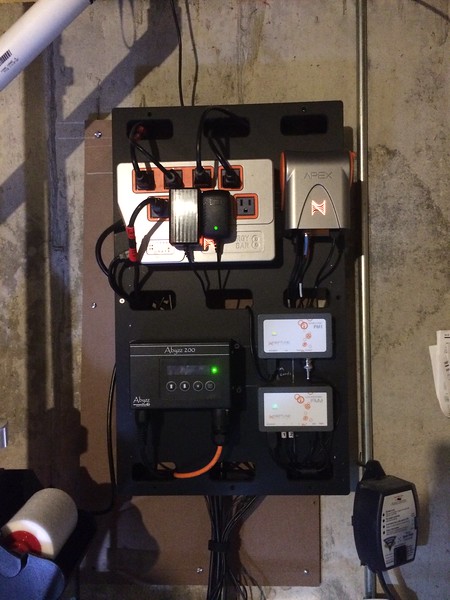
Let's start with the good: Got the electrical board setup! Now I just need to tie the cables together and get them organized a little better.
Pre electrical panel rats nest
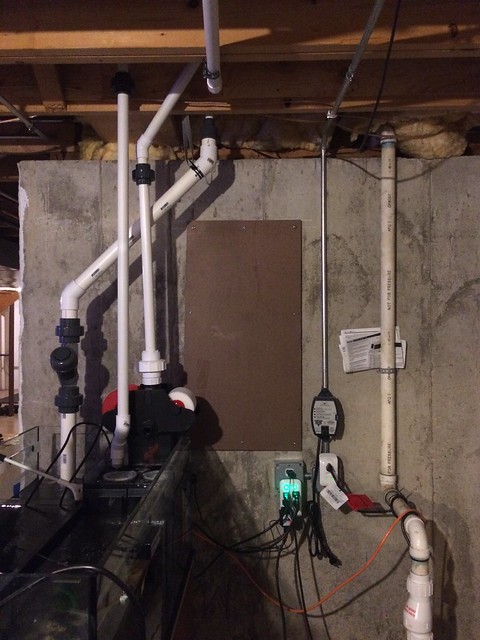
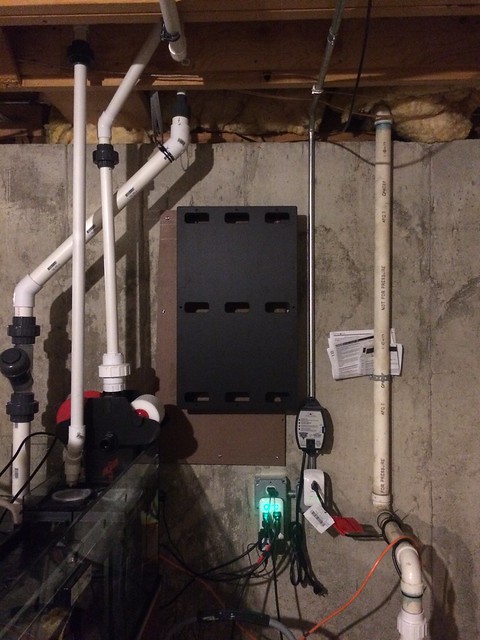
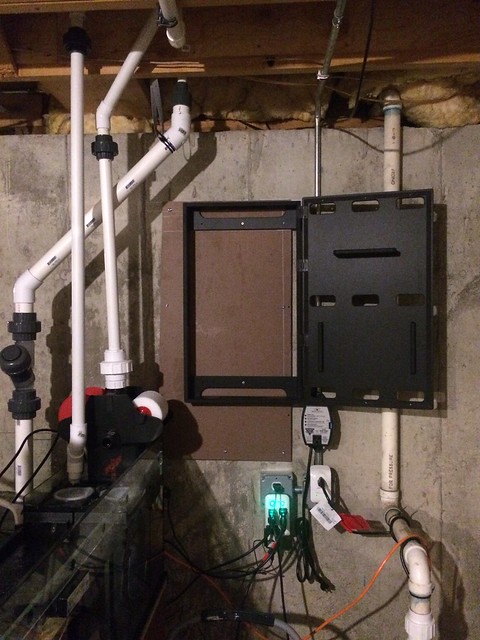
Panel setup
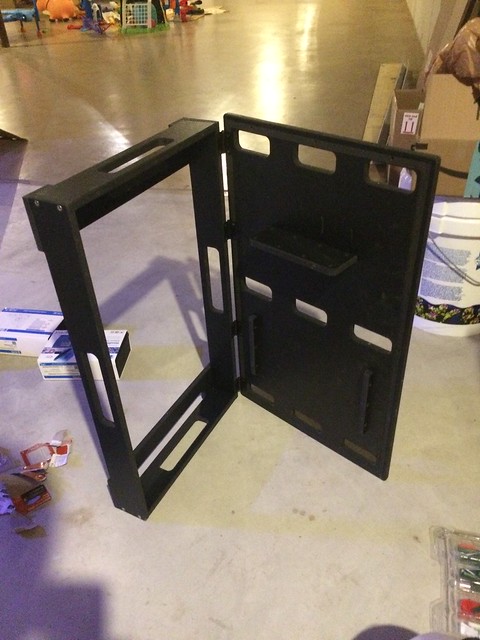
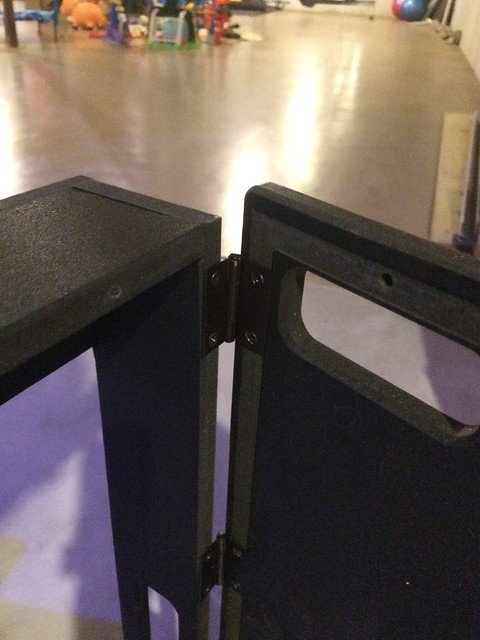
And final product - pretty happy with how this turned out, and how almost all the cables had enough slack to do this. I am still happy I added the hinges to this panel. Opens and closes with ease.
- - - Updated - - -
Every build has its challenges, so far at least its being contained to the basement - all where I intended these things to be. So here is what Im currently trouble shooting.
- As previously mentioned, my first was tripping over some floor plumbing causing me to break my DOS reservoir, that will need to be replaced.
- My Neptune ATO seems to have an issue with starting up. Im not sure why when the water level goes down, that it isn't starting up. I've checked all the connections, the sensors are reading in dashboard correctly, and I can set it to On and it works fine, but when its in Auto, once it turns on it goes to Off, then wont start back up. I've uninstalled it and reinstalled it too. I will have to trouble shoot this some more. I had it on the 90 for a year, never had any issues, but now it doesn't seem to want to work right. Might have to replace this one.
- The third issue is while I was putting the electrical panel together, I noticed a small amount of water under neath my frag tank. At first I thought it was a leak from the Ca Reactor as one of the quick release fittings had leaked on me while moving it. I dried it up, went back to work, only to find it again. Inspecting the frag tank, I noticed a small drop of water going down the back side of the tank, and it seemed liked it was coming from the overflow bulk head. So made sure things were tight, and that drip went away, but then it looked like the tank was sweating. Every so often, a drop would form out of the glass and go down the back of the tank. Because it was going to between the Sump glass and Frag tank glass, I wasn't 100% sure what tank it was coming from.
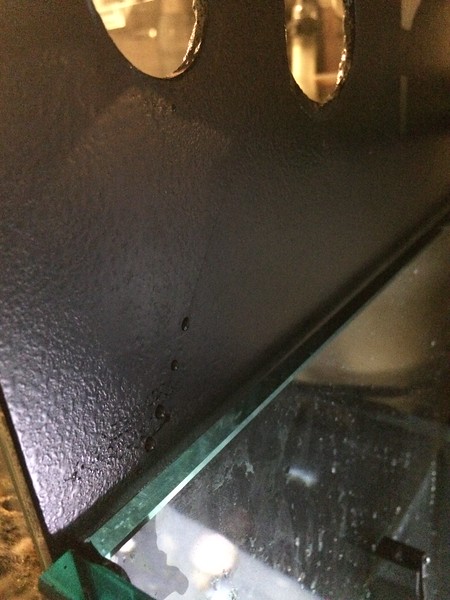
I removed the overflow, inspected everything, overflow O rings looked good (This is the X Aqua pulsing overflow) and found a hairline crack going from where the overflow was drilled down at an angle about 3-4". I think it was on the outside of the glass, but because I painted the back of the tank I could barely see it. Looking at it from the inside of the tank, the glass feels smooth. My best guess is that when I moved the tank and lifted the overflow line over the rim of the sump it put pressure on the bulk head causing the glass to break.
Here is the back side of the tank showing the leak that forms after a few seconds.
Long story short, the frag tank is going to have to get replaced

Not sure if I'll be able to find one of these tanks locally but I will see what I can find. I don't think this one is repairable, and it's an interesting size - 18x18 cube, that I drilled back in May and painted the back glass. Hoping I can find a replacement so I don't have to remake the mini stand.
I drained some water so it doesn't leak overnight, and I currently I have it hooked up to life support. Always good to have a spare heater and air pumps to assist.
Fun times!
- - - Updated - - -
Frag tank try 2: I found a nearly identical sized tank at Beyond the Reef. The tank 24 gallon tank is from a Company called SR Aquaristik, which from what I can tell is randomly local to me being that their company website states they are in St Charles IL, about 5 min away from me. Talk about random. Company website:
https://sraquaristik.com/collection...ess-aquarium-27-gallon?variant=12921219088407
New tank size is slightly smaller, 17 3/4" cubed. Old one was 18 1/8" cubed. The new tank is pretty decent. It says low iron glass, and after taxes only cost $99. I think the one from BRS was around the same price.
I considered finding a hang on overflow, but couldn't find a small one locally. The store I bought the tank from didnt have any, store # 2 I went to didn't have one, and the third one I called said they didn't. So, since I drilled the first one I had, I drilled this one. I did confirm with the first store that the glass was ok to drill as the store owner called the company today. Pretty impressive to see things like that happen so quickly on a Sunday. My faith in this local store is starting to come back! I think this was one of the stores Randy from BRS was out in the Chicagoland area scouting recently too.
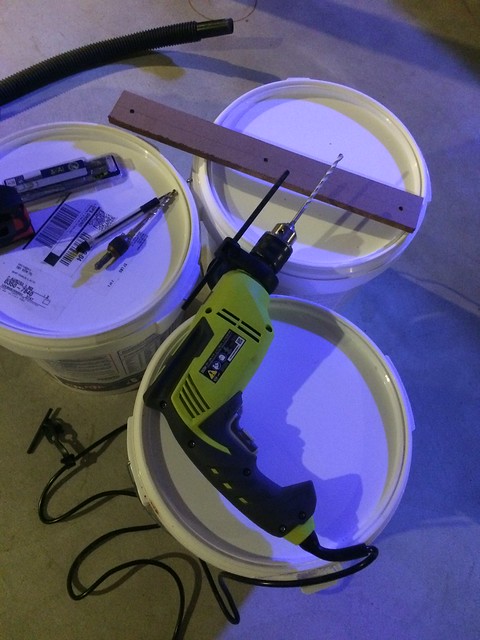
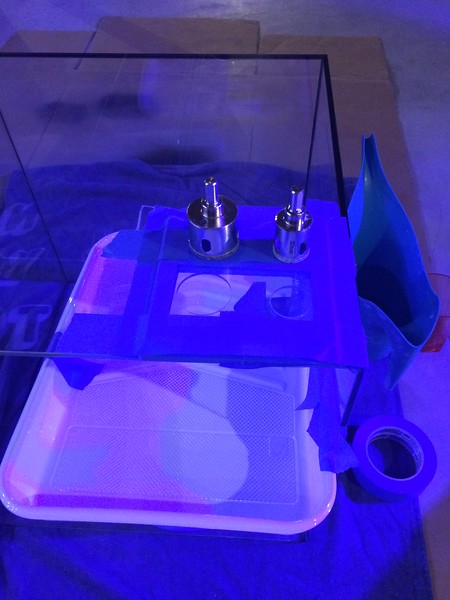
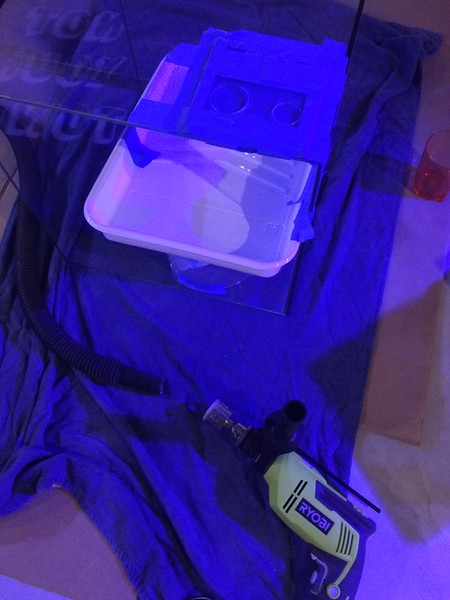
Setup to drill - The bits and template I have from when I setup the first frag tank. Paint pan on stand to catch the glass and water dripping.
Drilled! Same thing happened with my last tank, the inside glass seemed to "rip" right when I was cutting through. Not sure why. This time I used a better drill too.
Setting up the new tank. Note the dimension difference. When I built that mini stand it was perfectly cut! O well
Filling it up
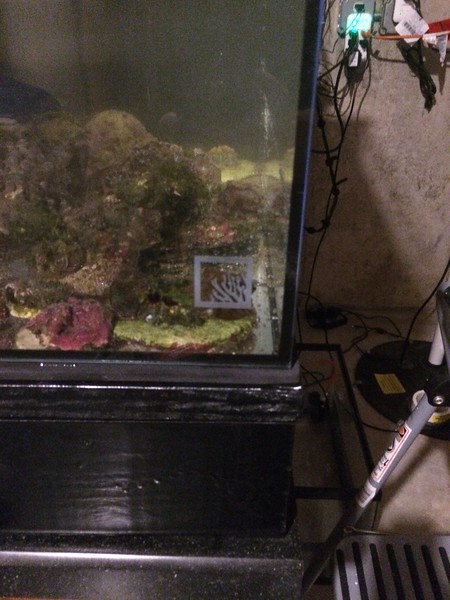
Tank logo. Appears to be etched and inside of the glass panes.
Excuse the poor picture due to the XR16 ( XR15 pro, though if you open it up a sticker on the circuit board says XR16 from the factory lol)
So less than 24 hours later it is back up and running again! I will have to make note that if I ever move this tank to take the bulkhead off or I'll likely crack the tank again.
- - - Updated - - -
And thats it for recent updates!
