First salty tank

gasket goes INSIDE the tank :) Pics!!

Lol. Are you sure, I thought it was supposed to be glued to the outside of the nut. ROFL!!

The guy is coming to drill the tank now, so I should have pics in a little bit. Right after that, I need to paint it and get a couple of PVC fittings.
 
News on the 2.5 drilling. It cracked to hell. Doh! That is ok though. I have a busted 10gallon tank sitting around, that I can take a pane of glass from. Going to do that and get it cut. Then replace, and try to drill again. :(
 
The glass was super thin.... Idk if its possible no matter how careful or slow you go. Well now we know not to drill 2.5g tanks.
 
The glass was super thin.... Idk if its possible no matter how careful or slow you go. Well now we know not to drill 2.5g tanks.

Lol. This is true. BTW, you left that piece of plexi here. Did you need it or no? Probably should have asked you that before I siliconed it to the tank. *facepalm*
 
Ok, boys and girls. Here is why you should not attempt to drill a 2.5 gallon.

IMG_4923.jpg


IMG_4925.jpg


IMG_4927.jpg


IMG_4926.jpg


I did a quick fix with a piece of plexi. Siliconed the bejesus out of it and then drilled it. I used it to cover up all the cracks from the drilling and put tons around the seem of the plexi. It looks terrible, but it is gonna be for a fuge anyway, so no worries.

IMG_4924.jpg


IMG_4928.jpg


Won't know if it is going to hold water until tomorrow. Need to let the silicone sit for about 12 hours. (I hate waiting) But until then, I can play with some PVC.
 
IT WORKS!!!!! :D

IMG_4929.jpg

IMG_4930.jpg


I ran it for a couple of minutes like that. No leaks. Not even from the bulkhead where the pipe is not glued in yet. I need to glue the PVC, make some more SW, and paint the back and one side.

Here is a question. I was going to paint the tank to prevent light bleed into my sump. With the now fragile nature of the tank, you think I should not paint it so I can see if it fails on me?
 
It looks great, good job...It should be ok to paint.

Thanks man.


I have some saltwater mixing as I type and am going to glue the plumbing in a minute. Not going to paint the tank so I can see what is going on with everything as it blocks a good deal of my vision while in the stand.
 
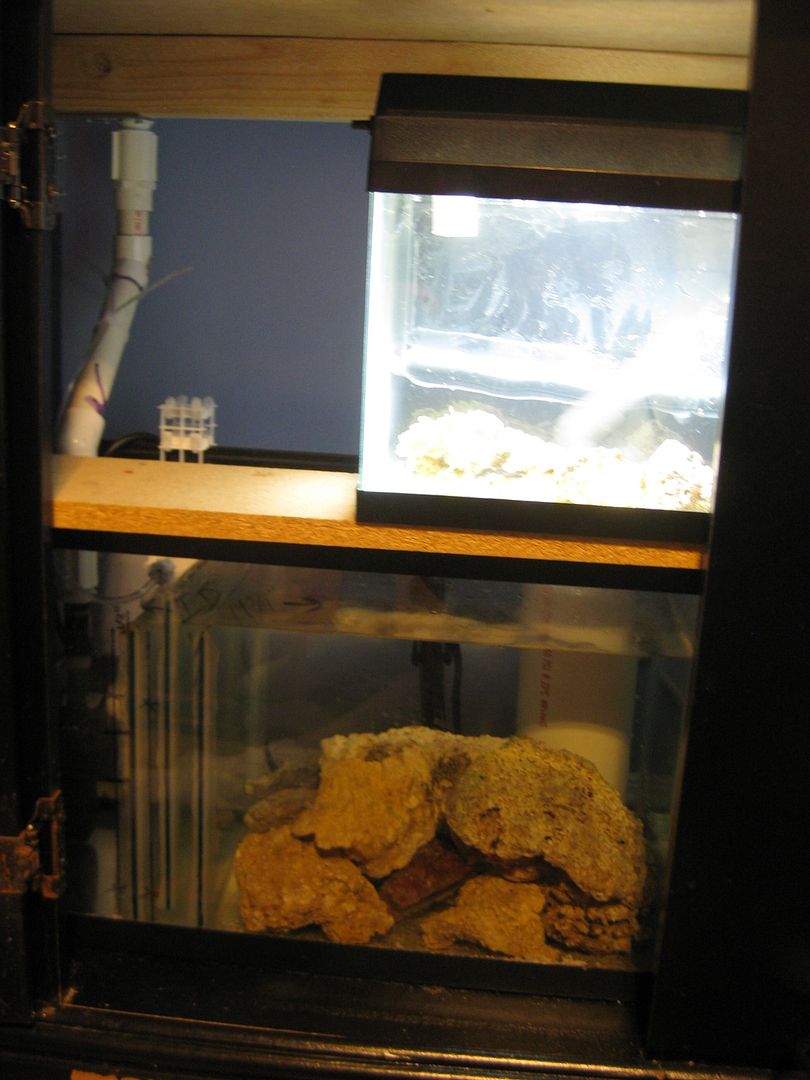
All hooked up and running like a champ. Here is what it looks like in my stand at the moment.
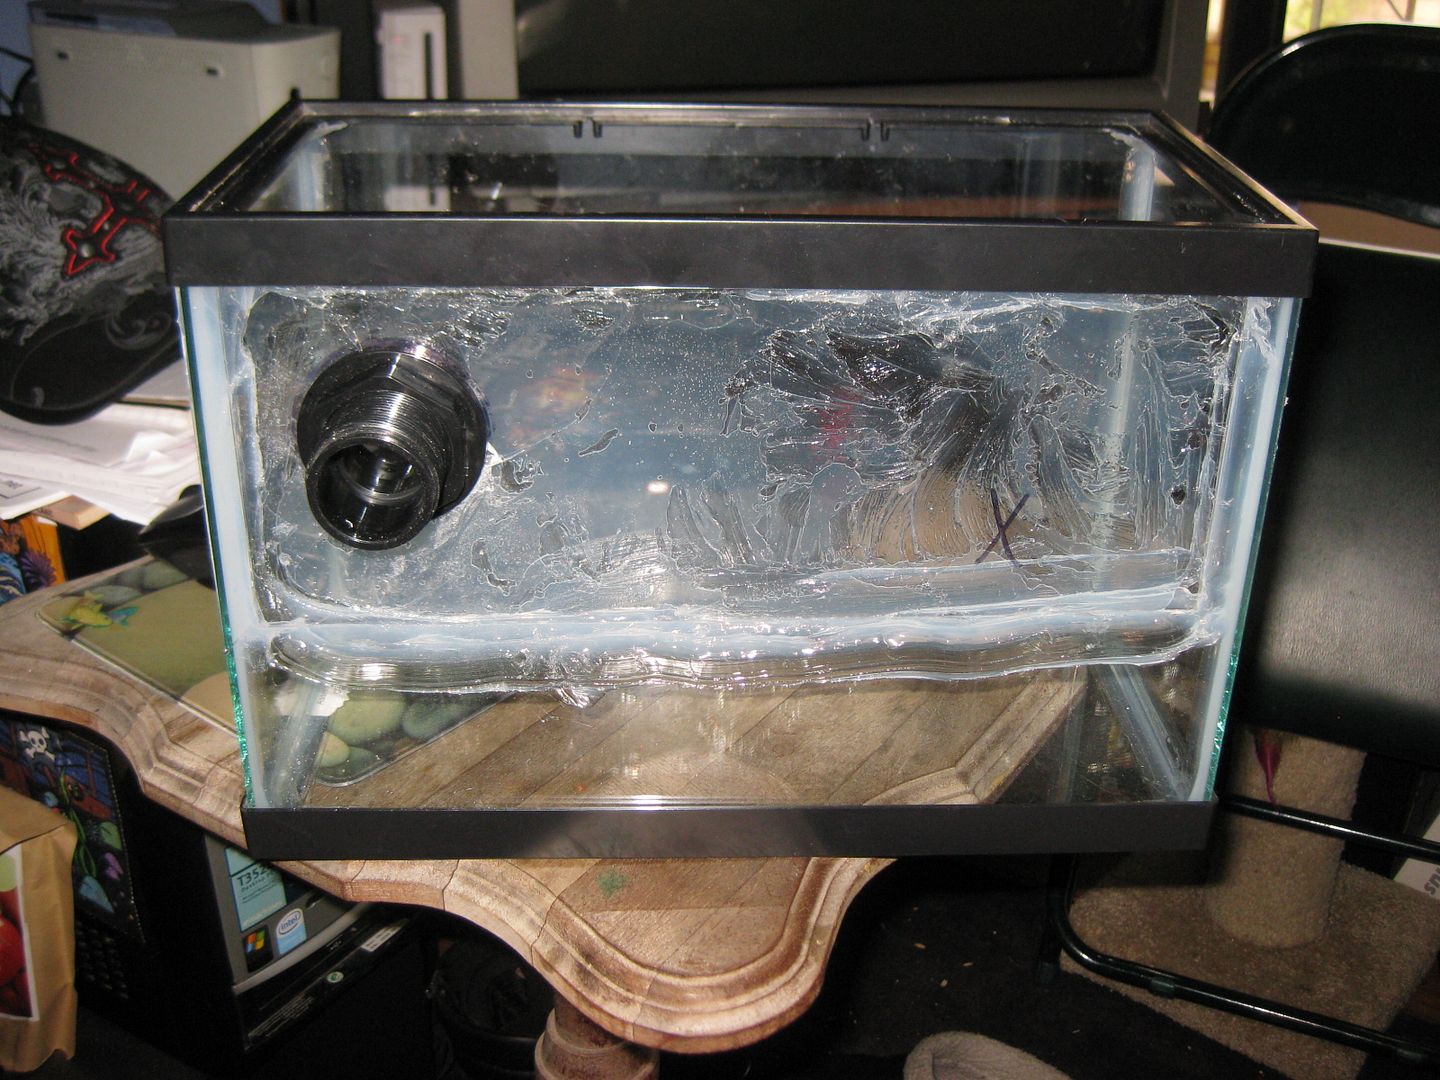
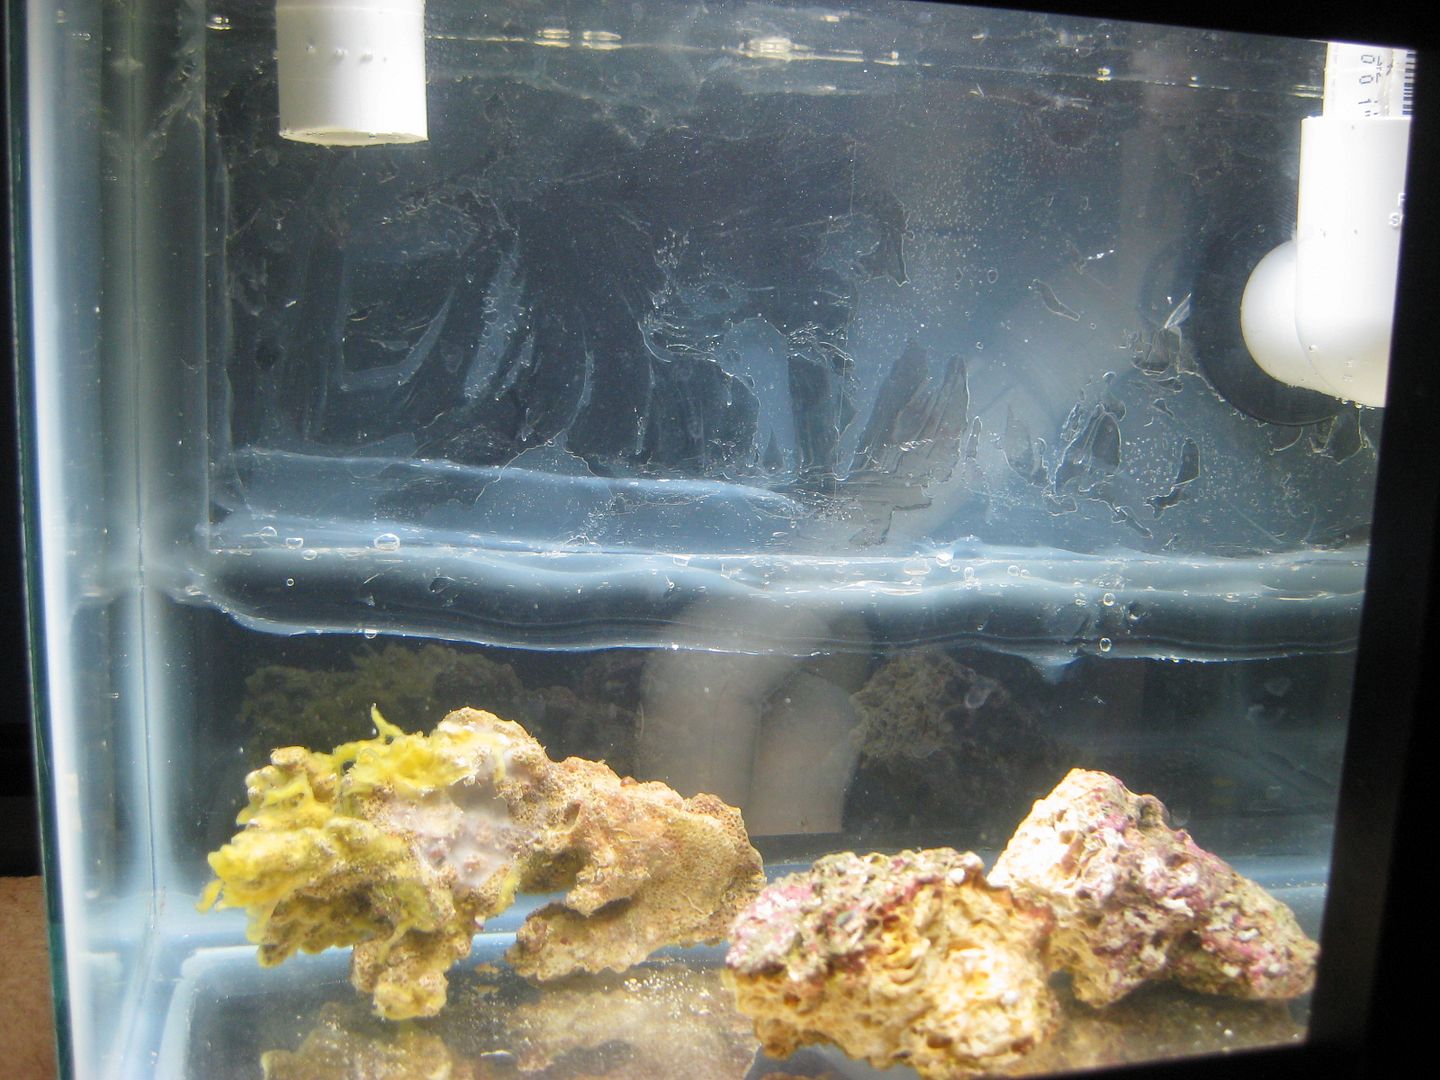
IMG_4931.jpg


The fuge itself.

IMG_4932.jpg


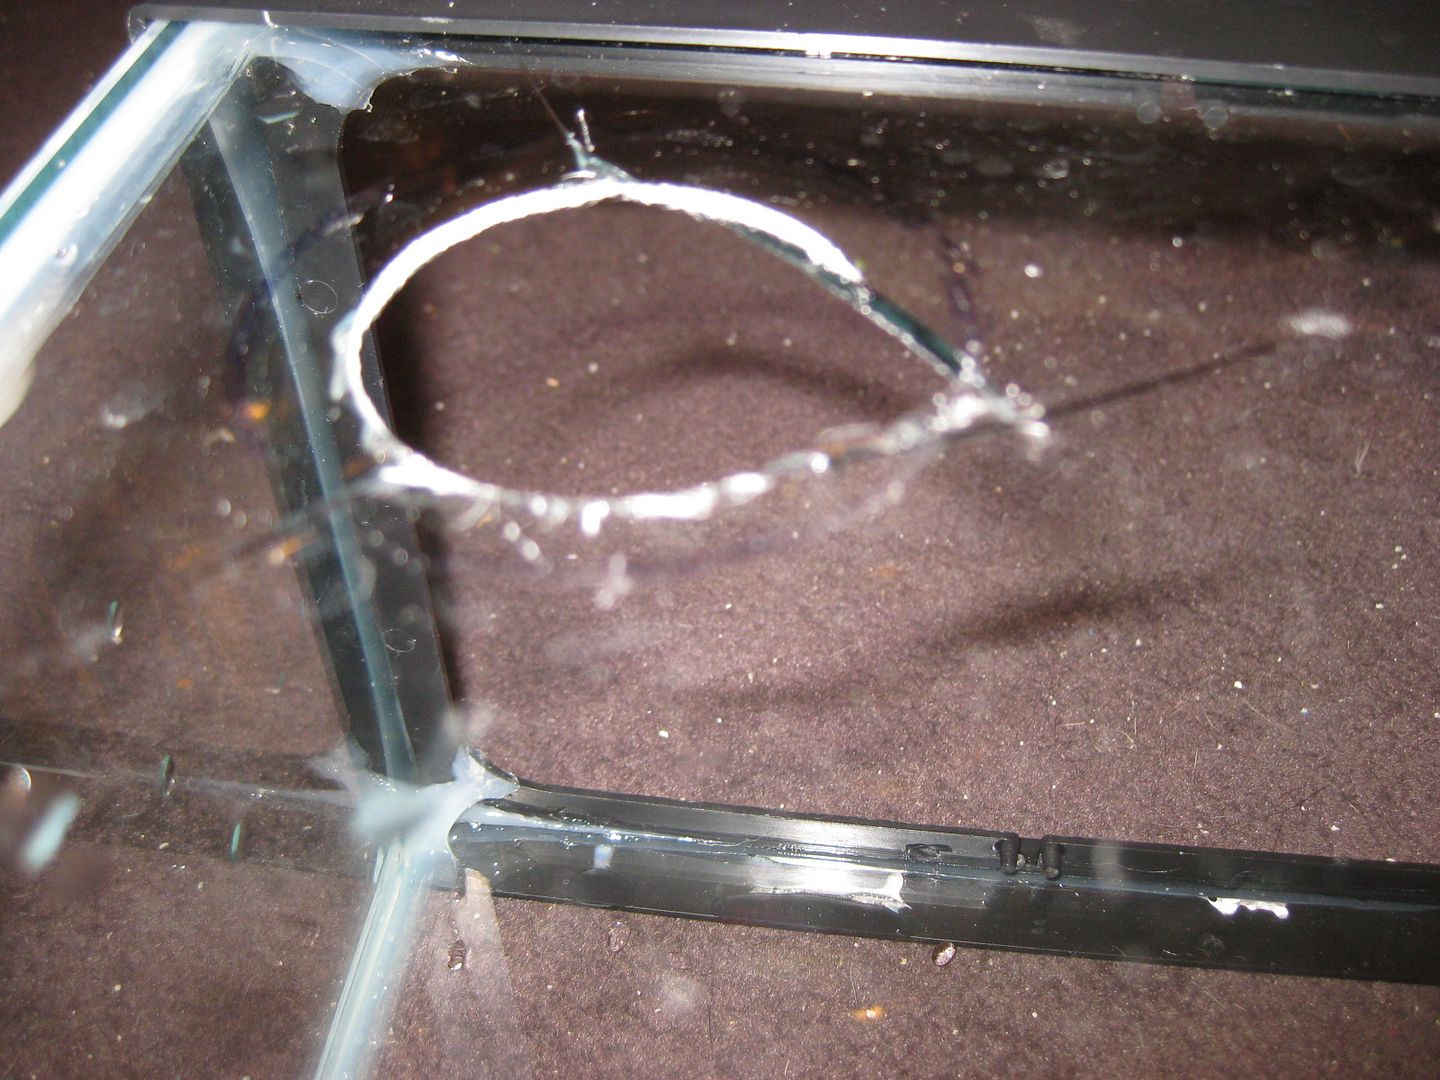
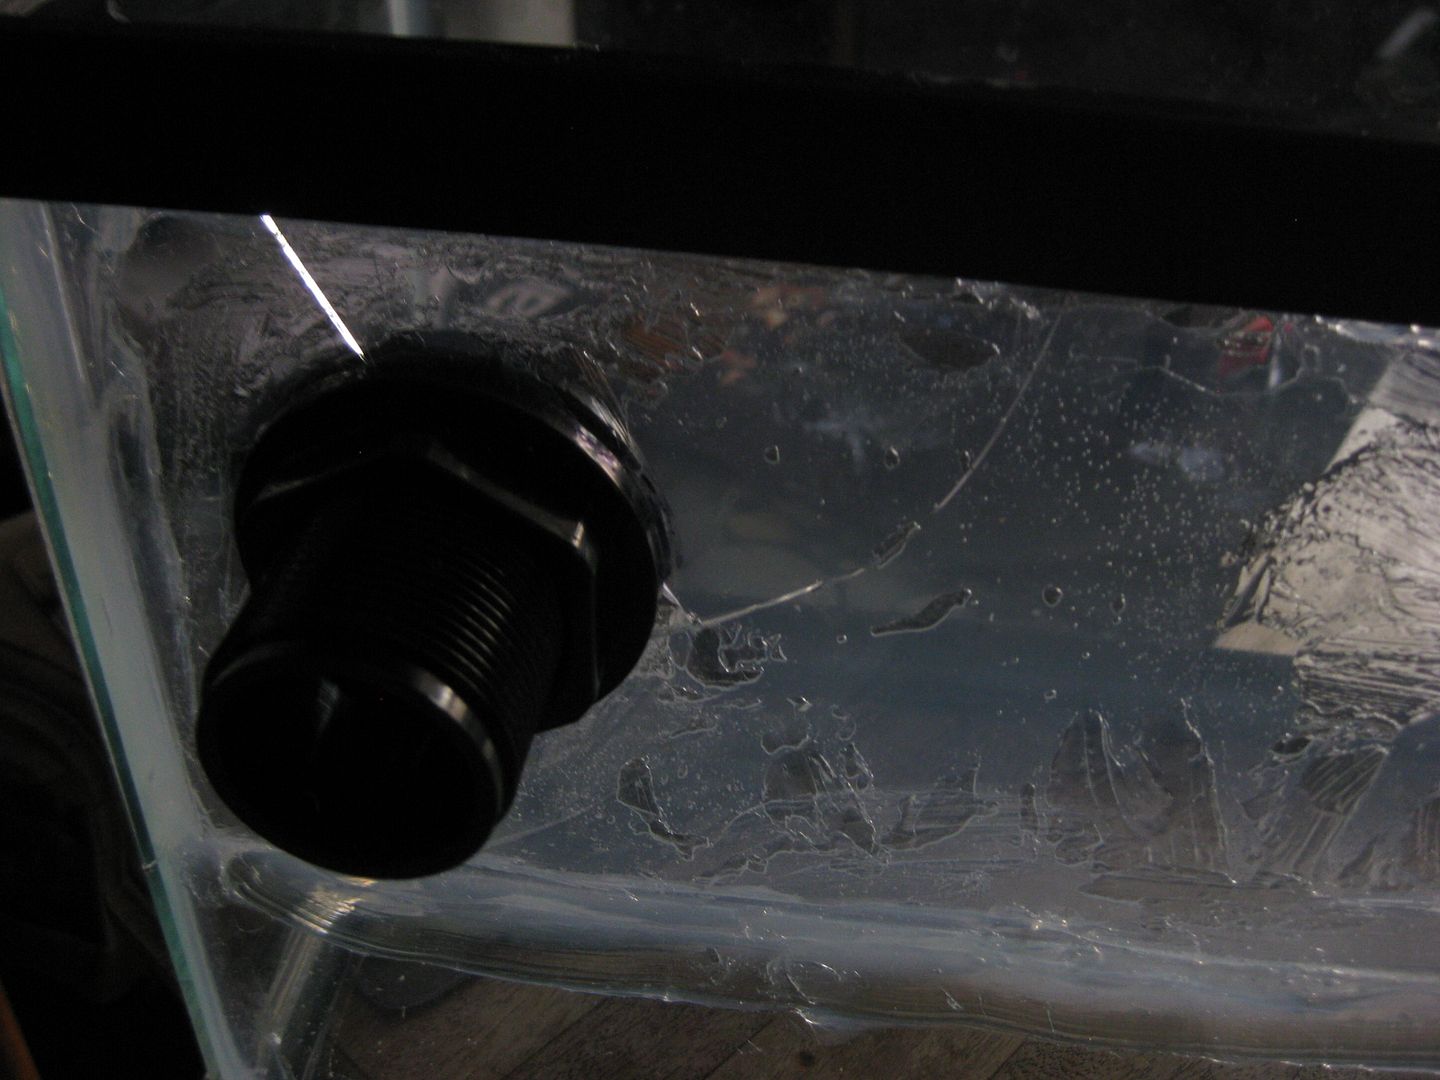
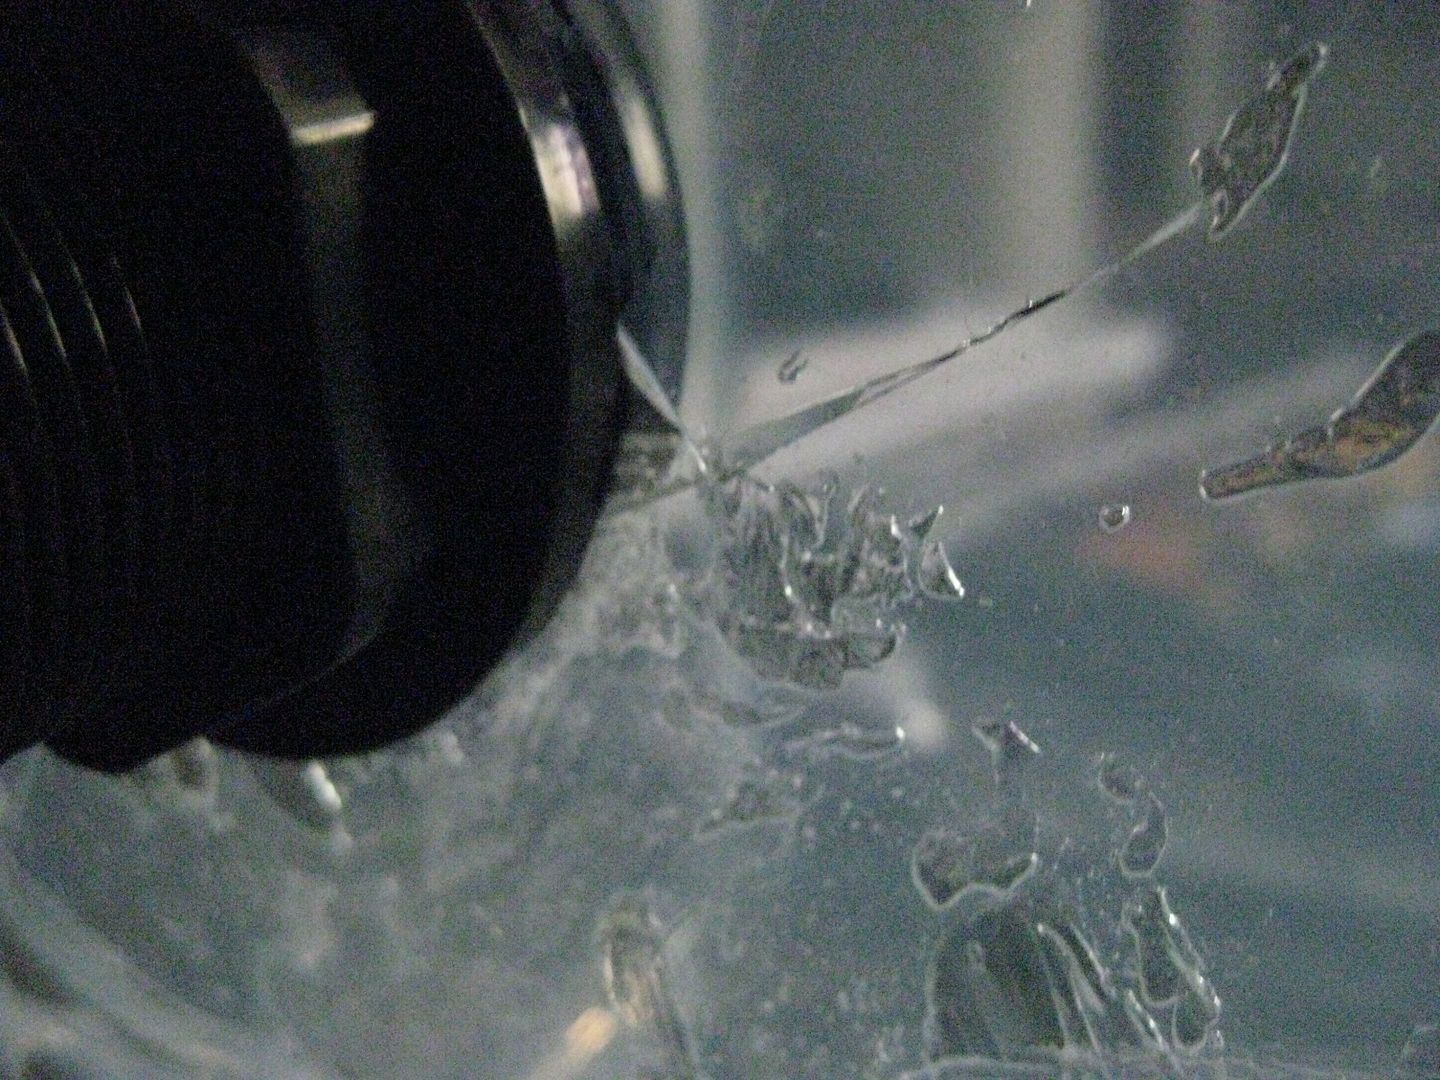
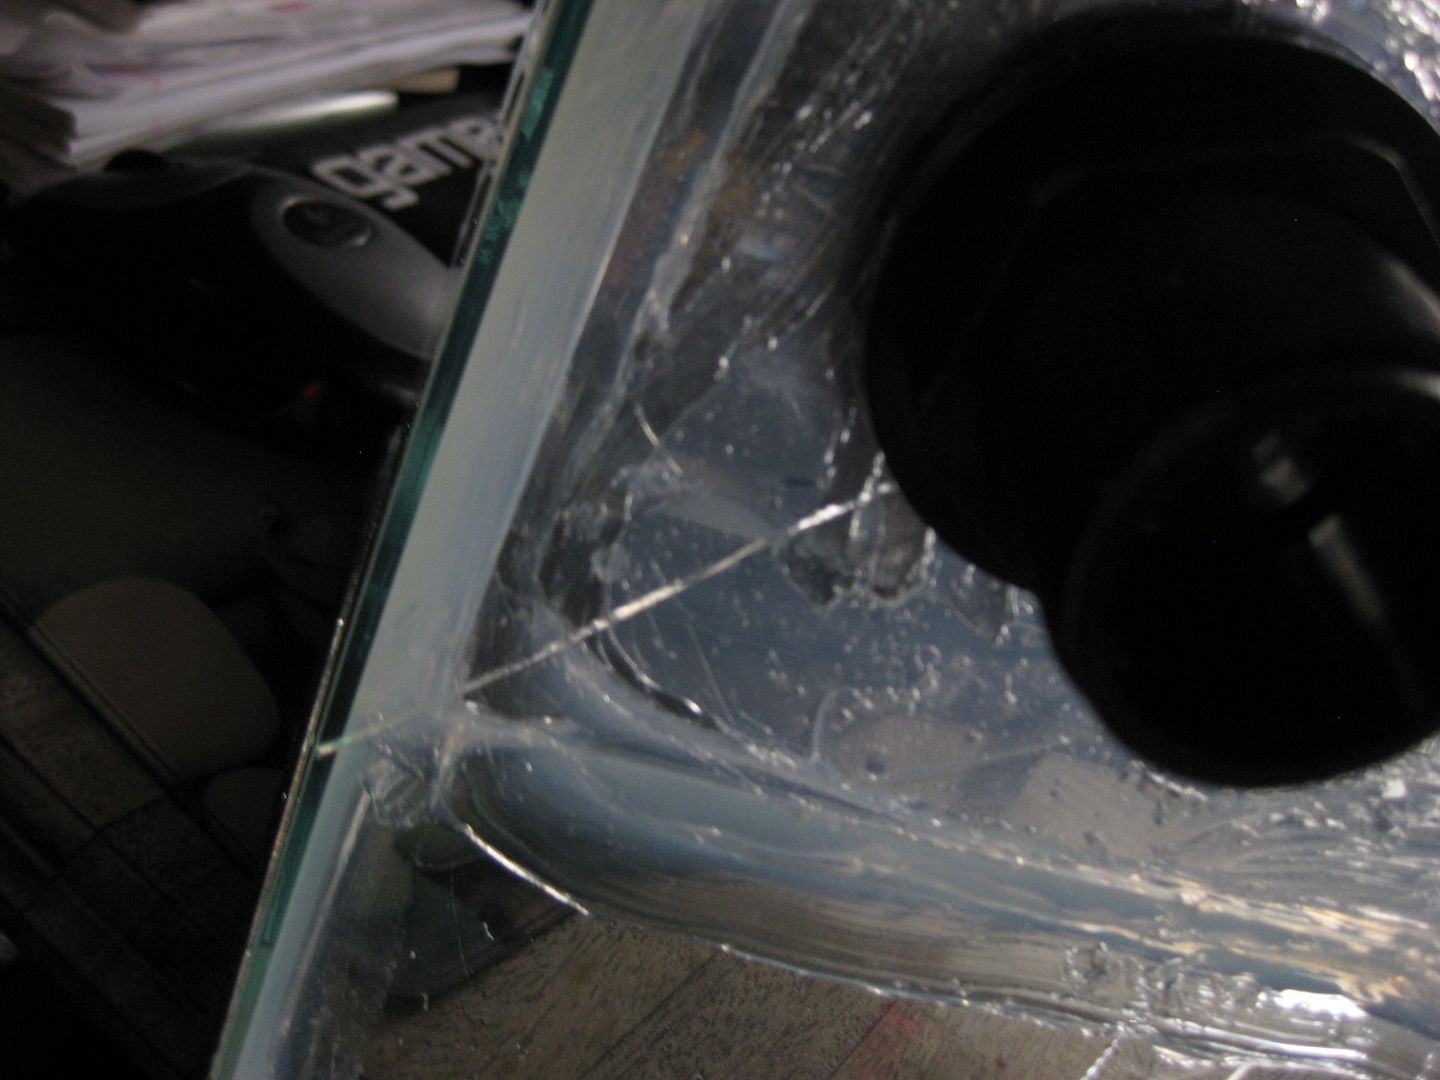
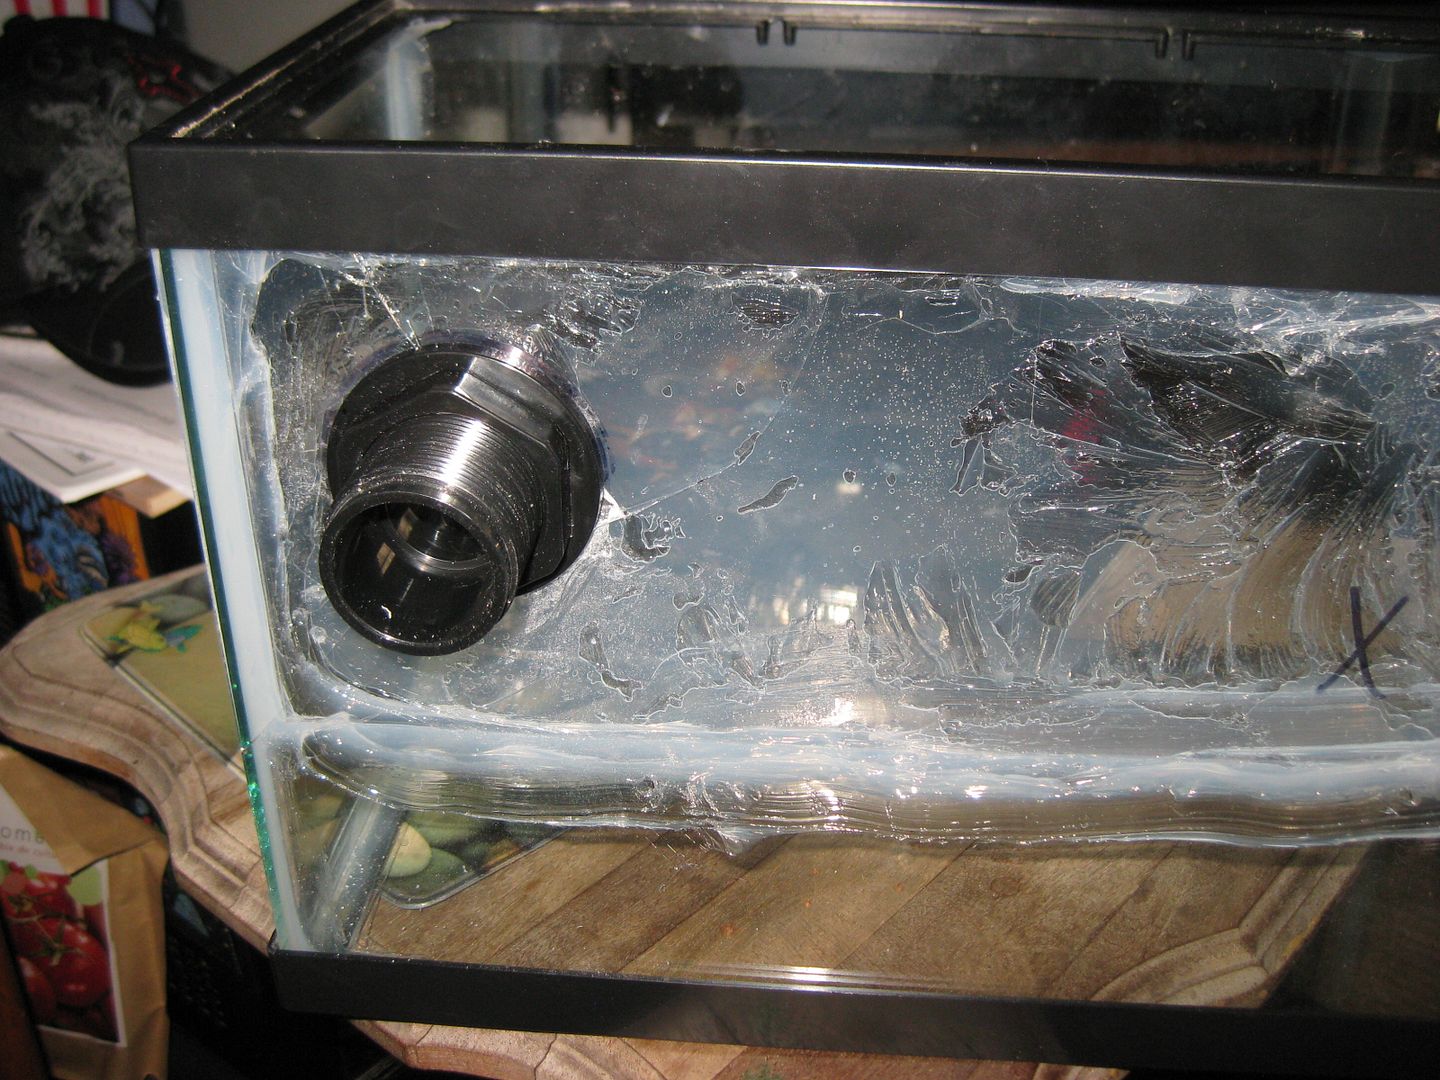
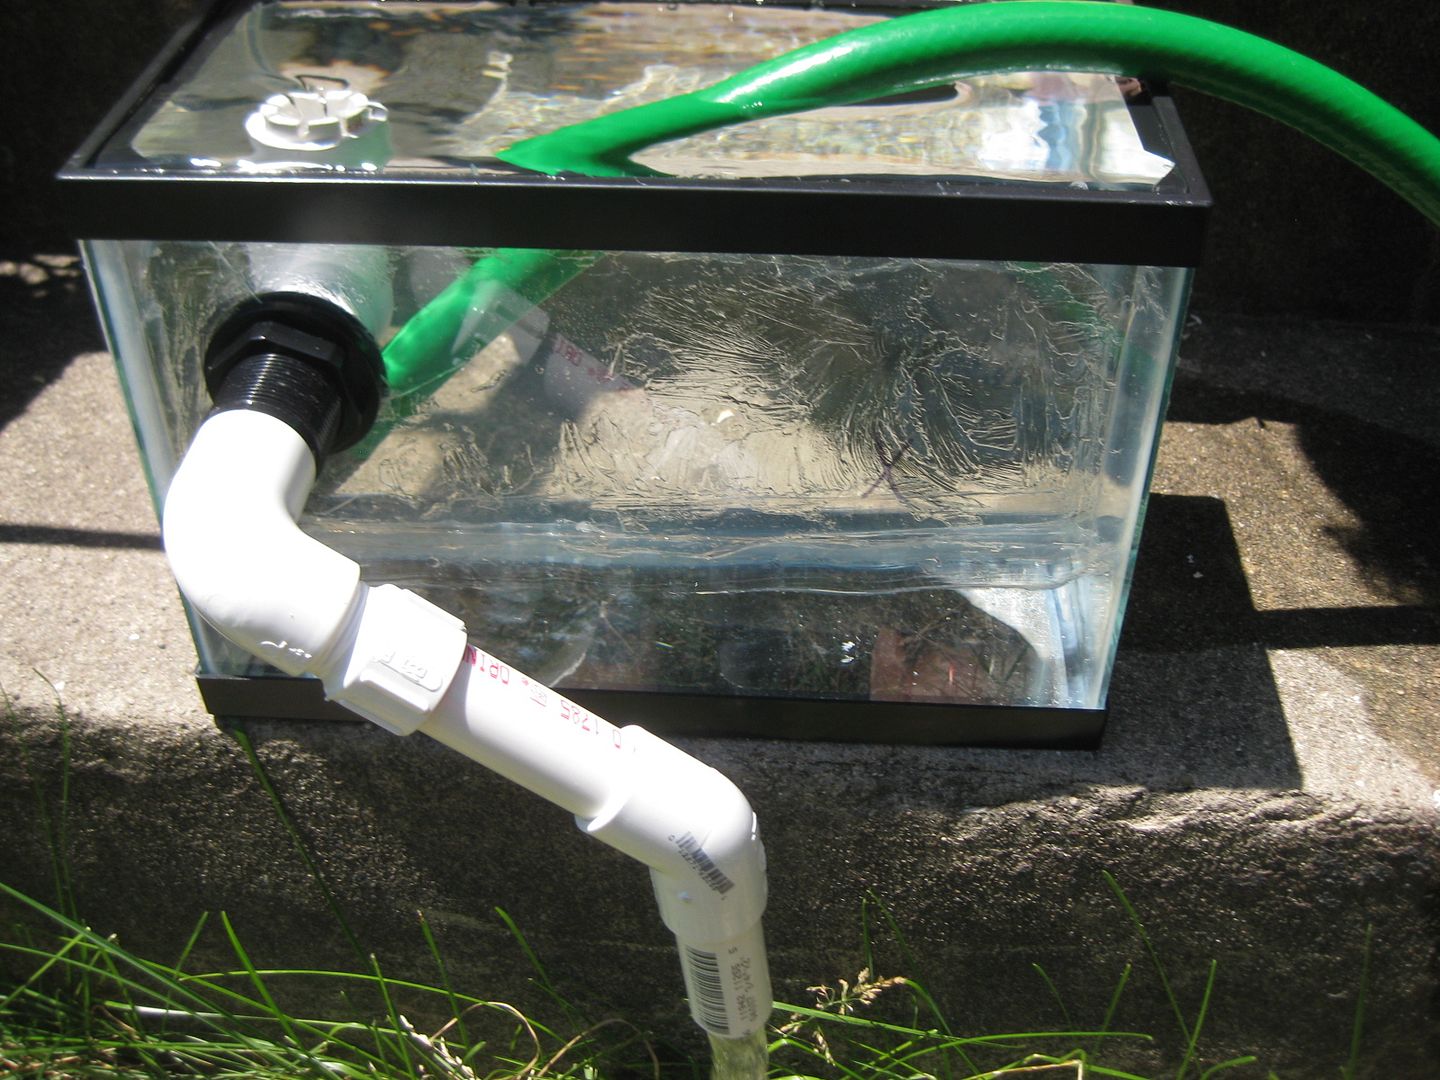
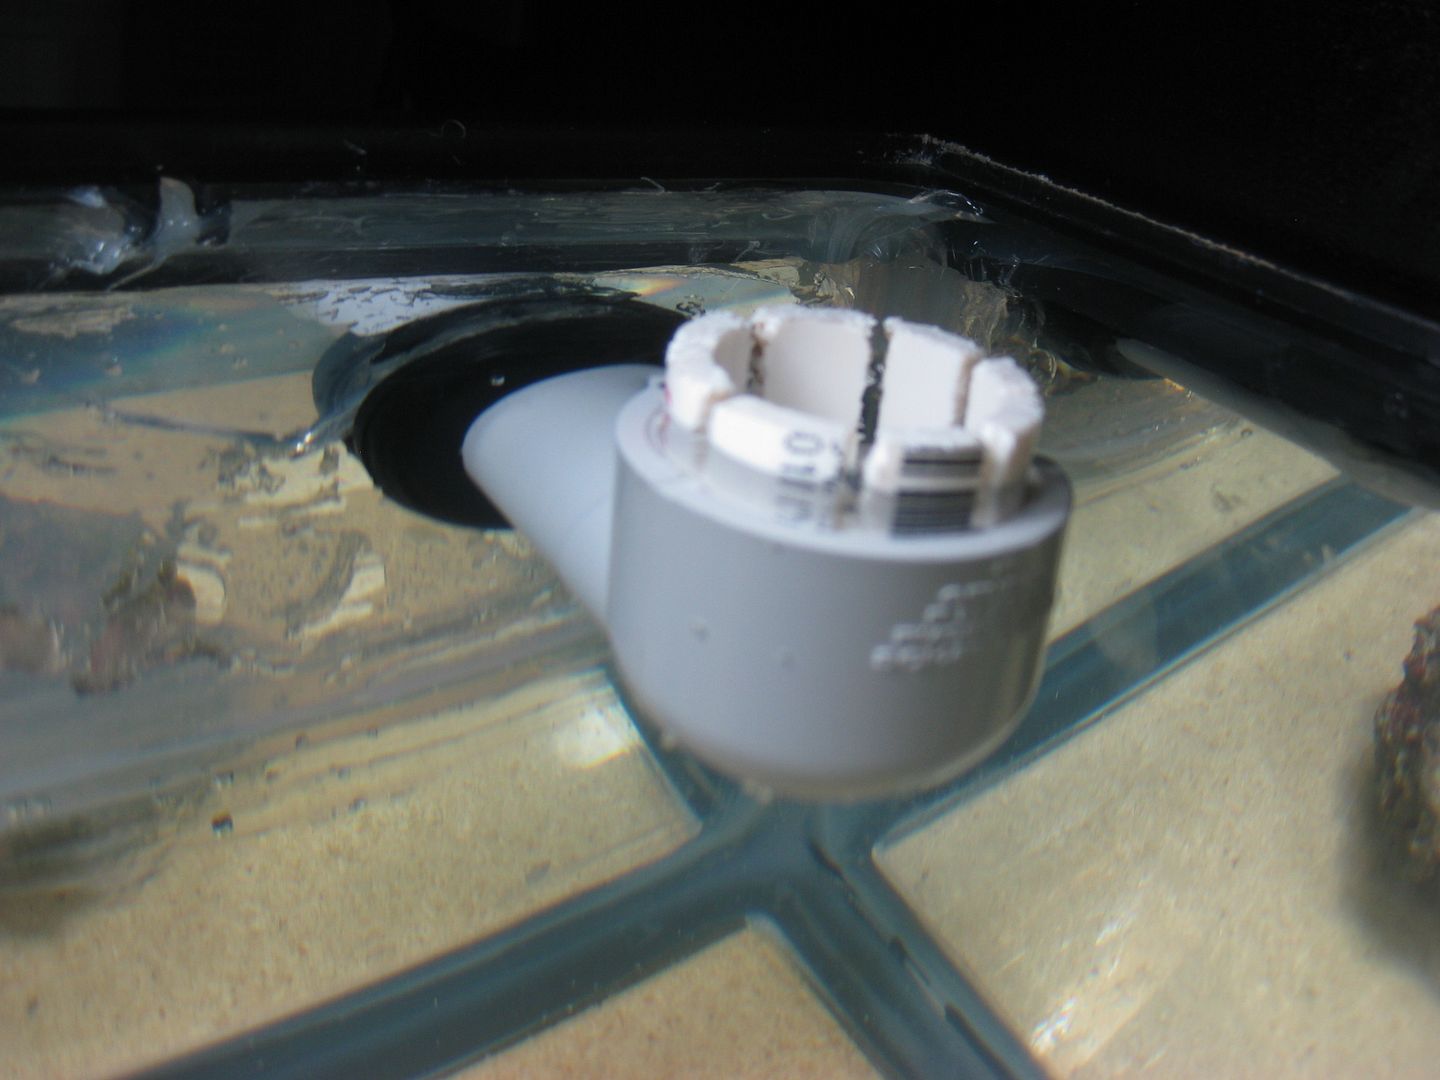
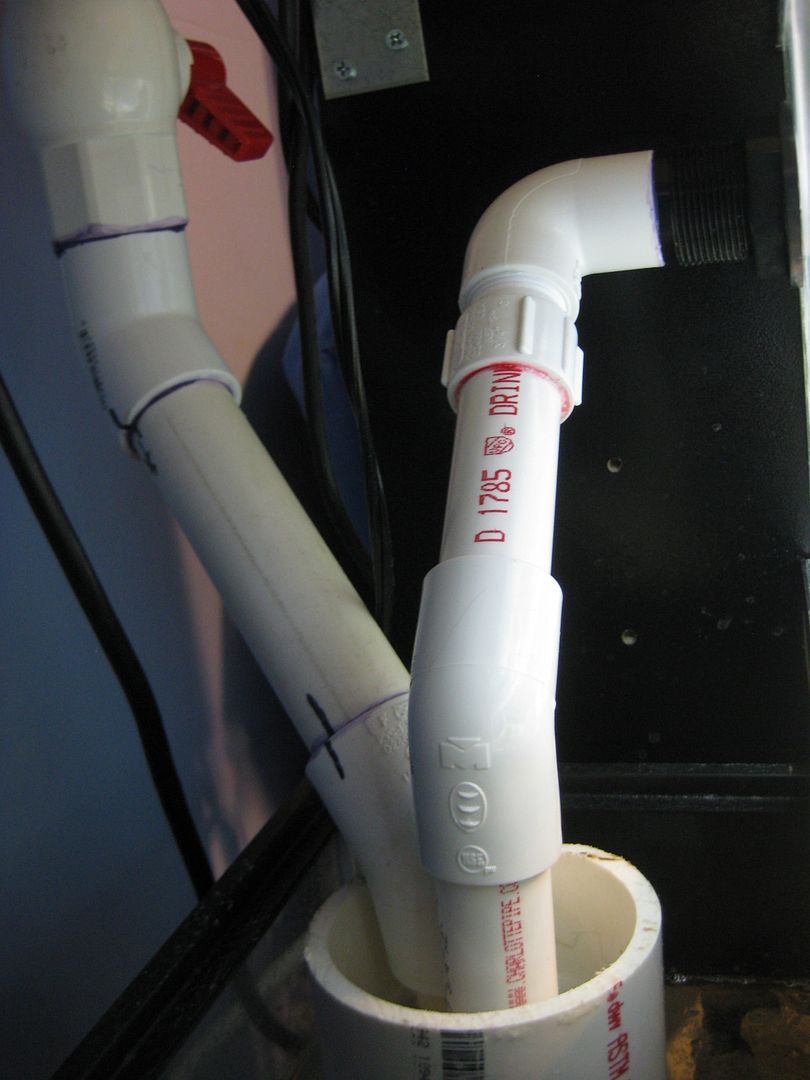
Ok. Details. The drain/overflow is a 1" female slip to 1" male street. A short piece of 1" pipe is in the female end with groves cut into it to act as teeth. There is a 3/4" pipe in the street end that goes into the 3/4" bulkhead. None of that is glued. Should I need to change it, It will all come apart. The rest of the drain is all 3/4" in pipe with a 90* elbow to lead down to the sump. At the end there is a 45* elbow with a short piece of pipe that goes into the 3" PVC rubble stack. Pretty simple.
IMG_4933.jpg

IMG_4934.jpg


The feed for the fuge is from the display and controlled by a ball valve. Should I need to take it off line, I shut the valve, drain the fuge, and pull it out. Easy Peasy. With this setup, if my pump should quit on me, everything will still have water in it and my sump will not overflow. That makes me happy. The flow through the fuge is a bit slower than I would like, but that will change once I get the Meg3 return I am planning on getting. (I hope.)

OK, here are a few goodies.

Random sponge.
IMG_4935.jpg


This is a bad pic, but I think it is a small coral. Any help would be appreciated.
IMG_4936.jpg


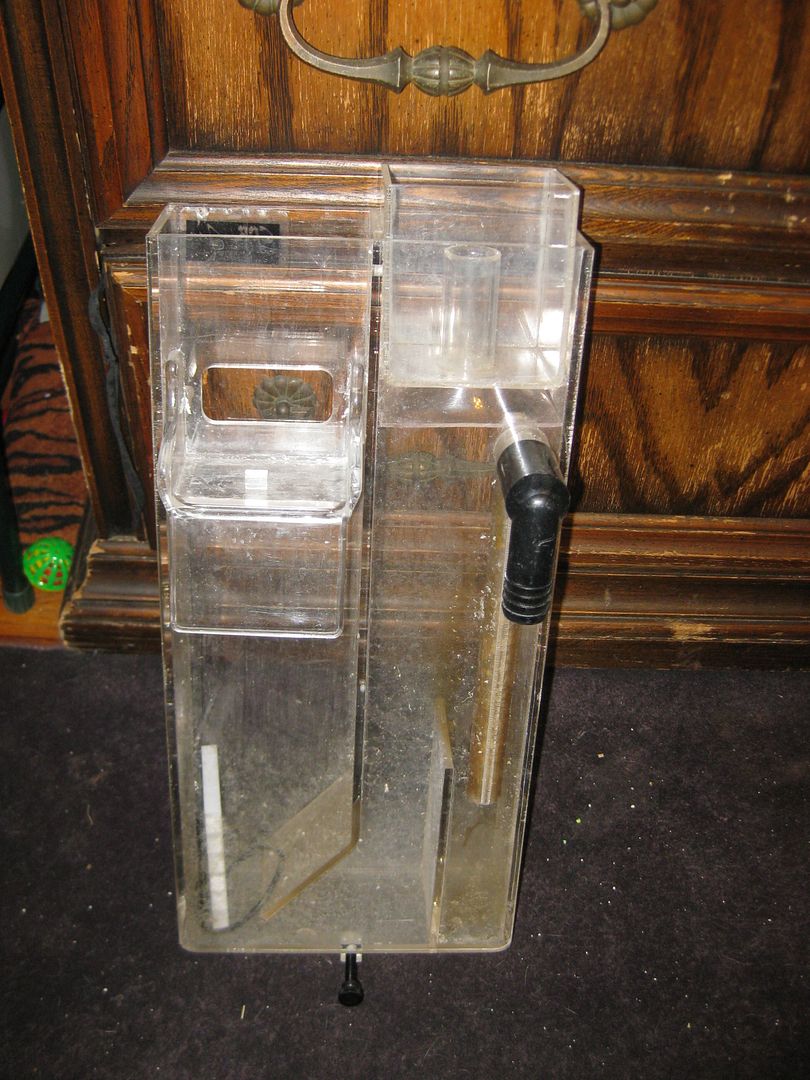
Also came across this goodie in the garage. Forgot I had it.
IMG_4937.jpg

A CPR HOB skimmer. It needs a gasket and pump, but I may have that all figured out. Need to do some looking on the net and I will know for sure.

My next step is going to be substrate. I also need a decent heater as I think mine went out. Add some Koralia nano 240 power heads to that. And I am in business.

Oh yeah, light bulbs and a Mag3 pump too.
 
Back
Top