Mr. Microscope's 25 Gallon Cube

Have u used the typhon yet? I mean how's it working out for u? I just ordered one and was curious if u had any tips or suggestions? Pros/cons?
 
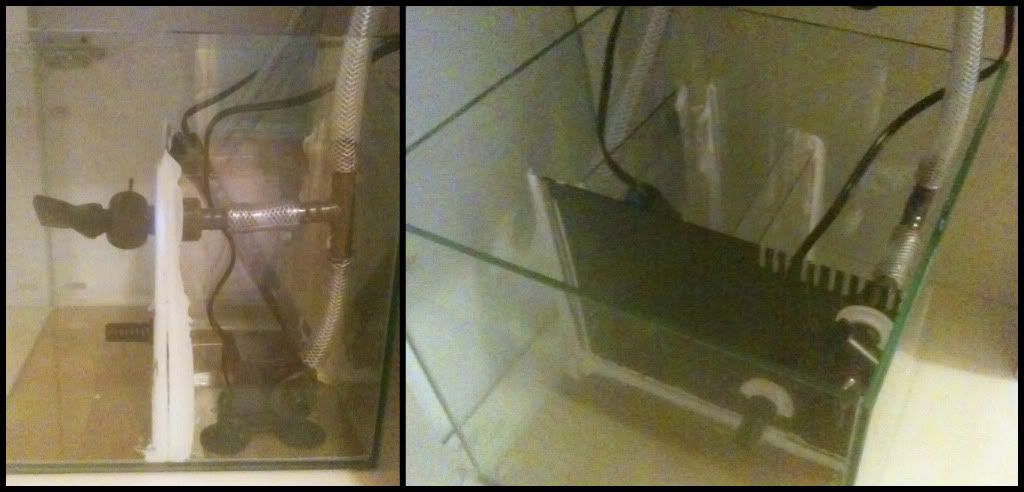
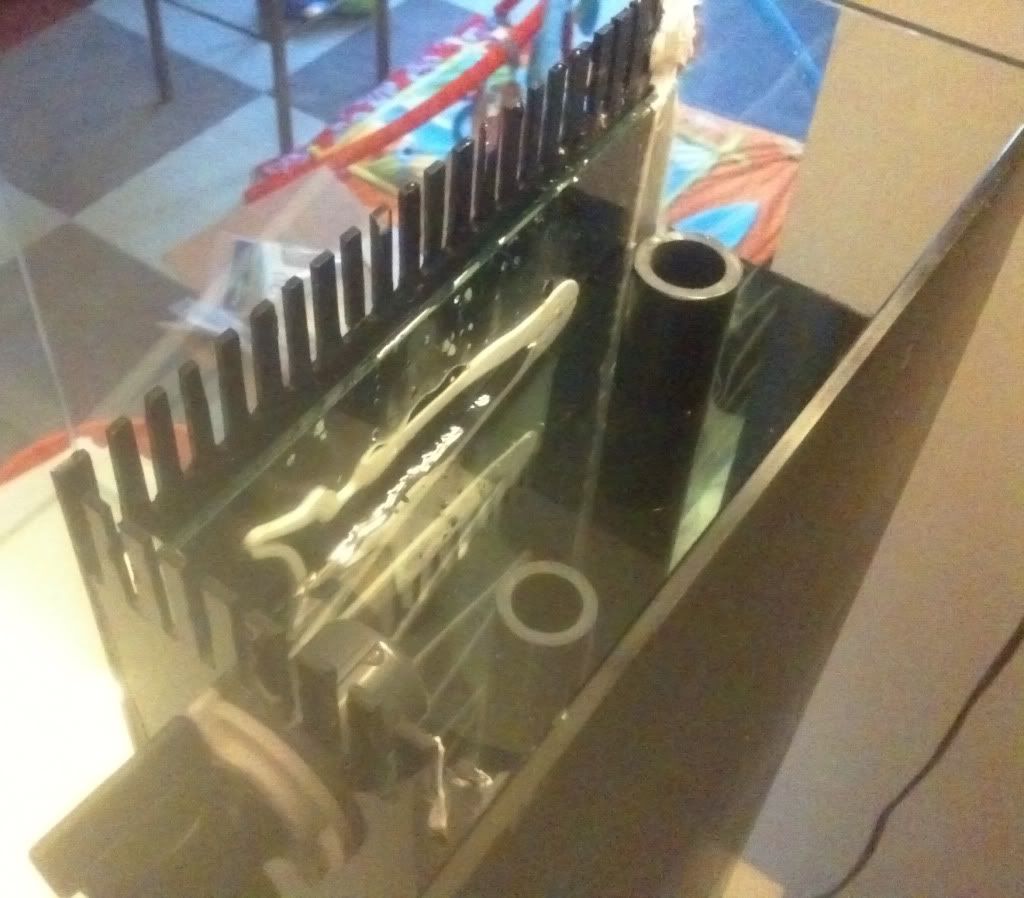
So, I'm continuing to work on the plumbing which is almost done, but nothing work taking a photo of yet. I have, however finished another aspect of the build. The rock pillar!

I used this stuff from Premium Aquatics:
TER-12GL.jpg


At $20, it's a little expensive for epoxy, but I'm extremely happy with how well it works. It cures incredibly fast! Between kneading together the two components and being rock solid occurs in just two minutes. My favorite aspect of this glue, however, is that it doesn't have any smell. That meant that I could take my time and really enjoy the building process in our apartment without my wife complaining that everything about my hobby stinks up the place.

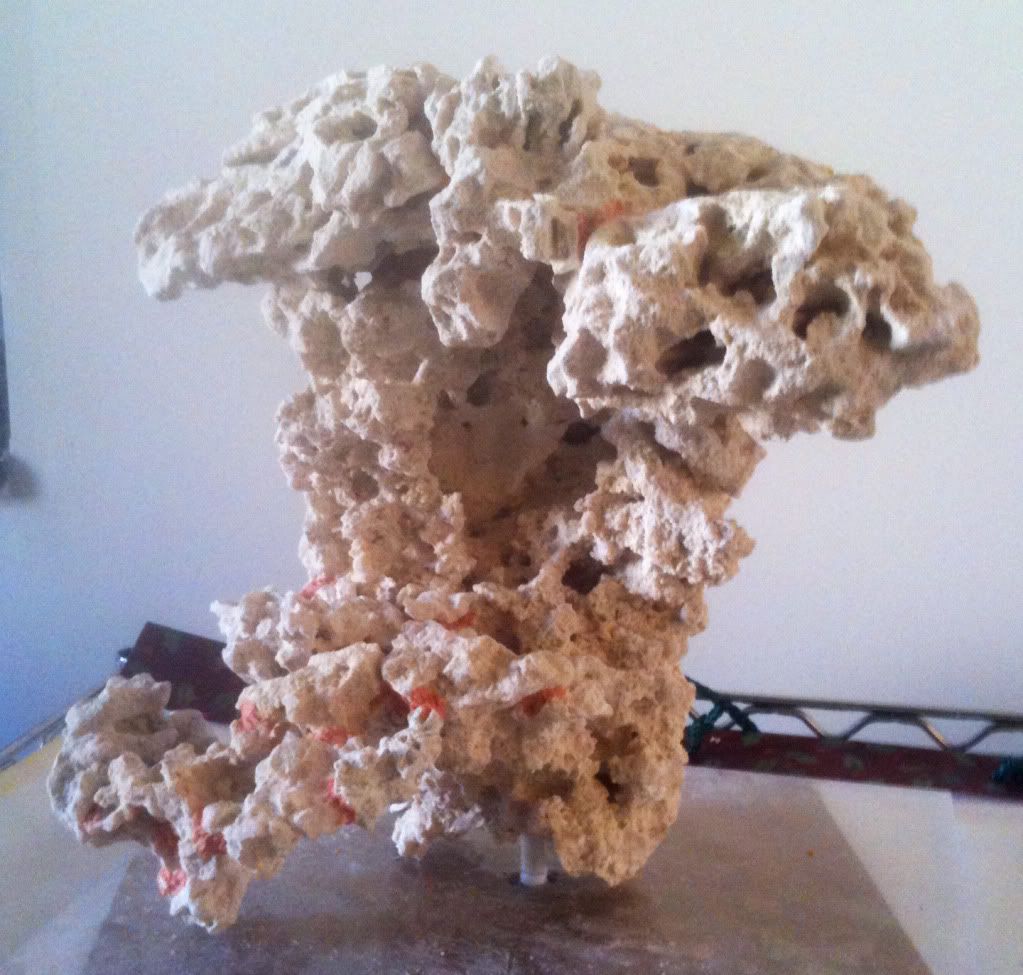
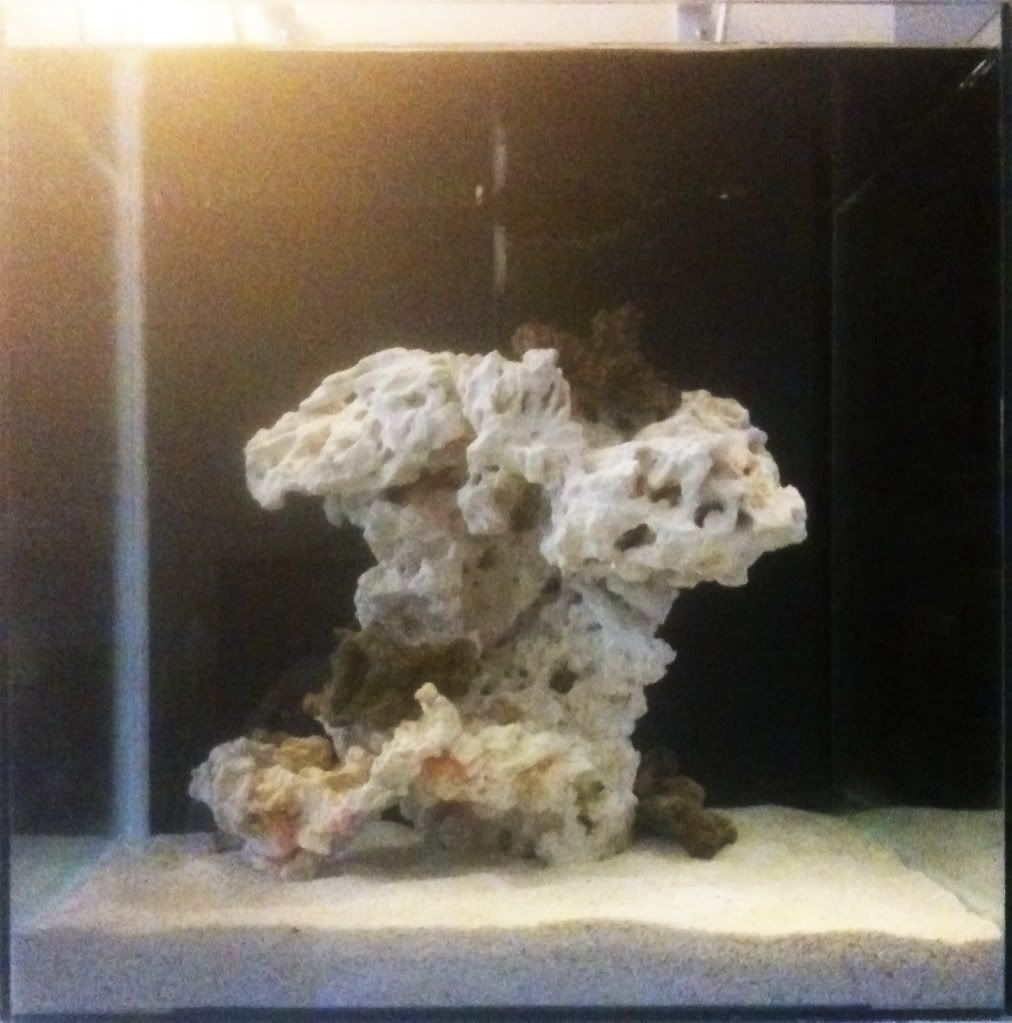
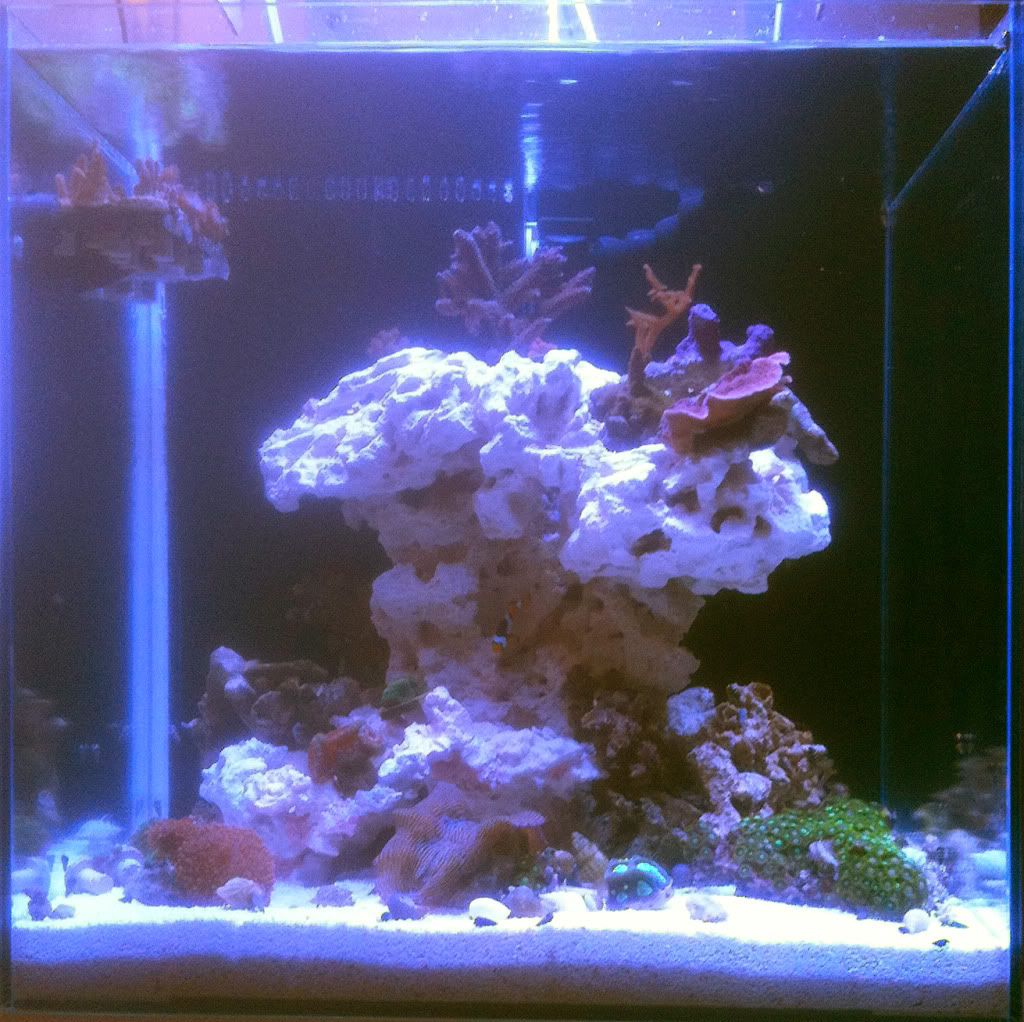
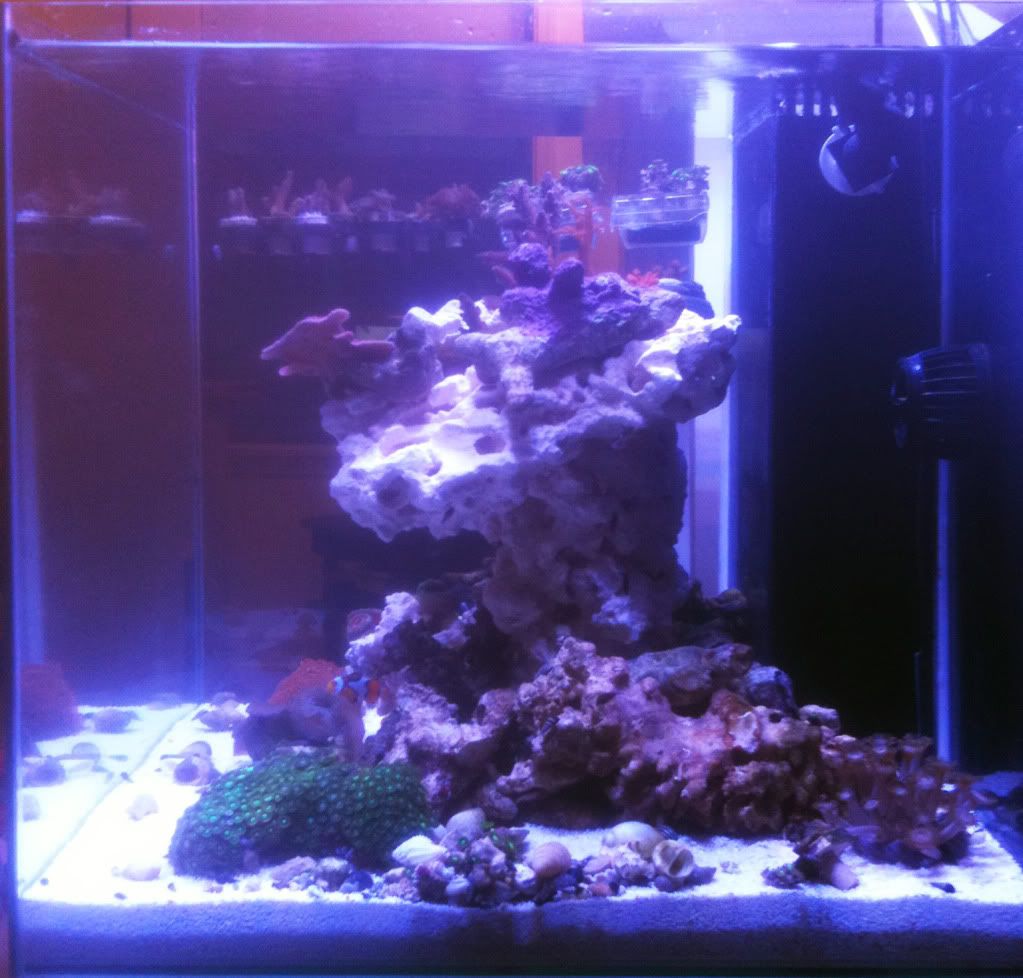
Here's what I built:
rockpillarconstructed.jpg


These rocks came from Reef Cleaners. As I mentioned before, John Maloney helped pick out the pieces for me. This is mined stuff. So, I'm not going to have to worry about additional crap during the cycle.

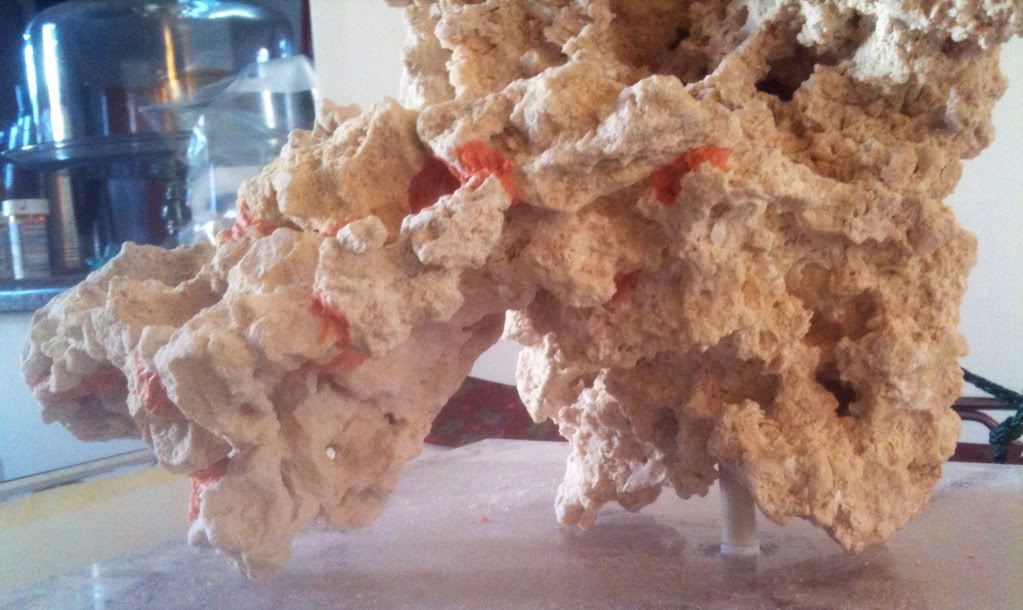
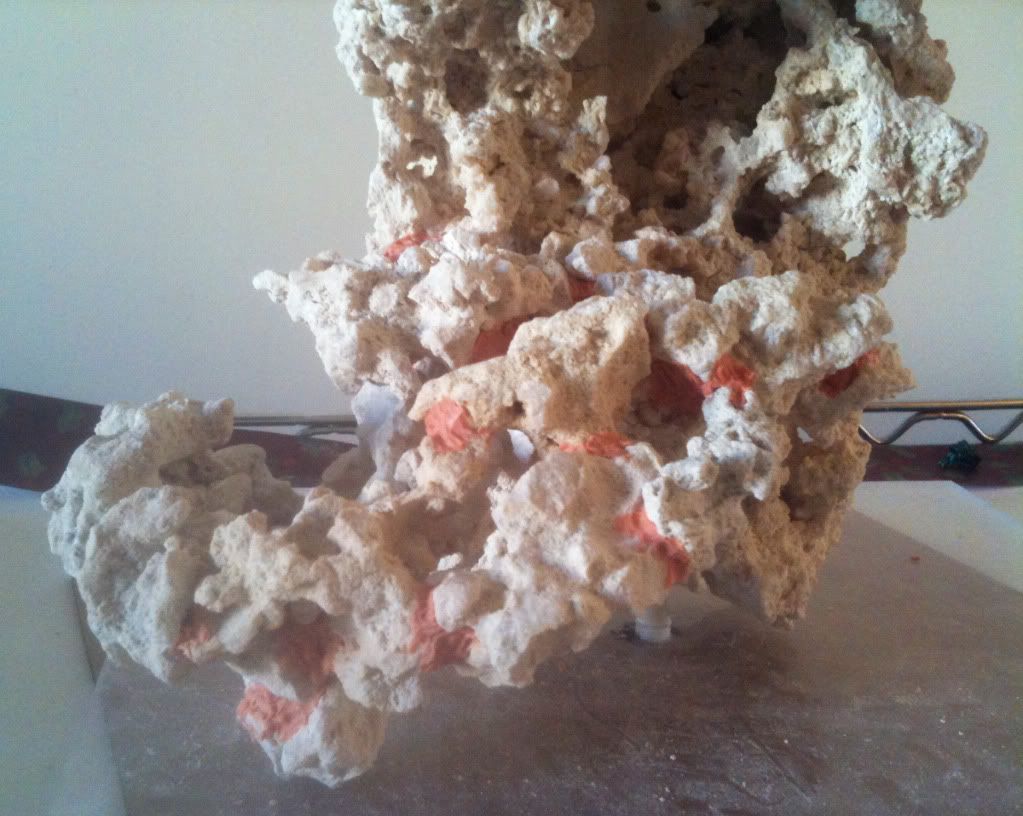
I planned out several areas with intended purposes. First, I decided to make more than just the mushroom shape. Although, I kept this aspect of the build, there would have been no space for other corals on the bottom. So, I came up with this little arch.
Fun fishy swim through zone!
rockarch.jpg


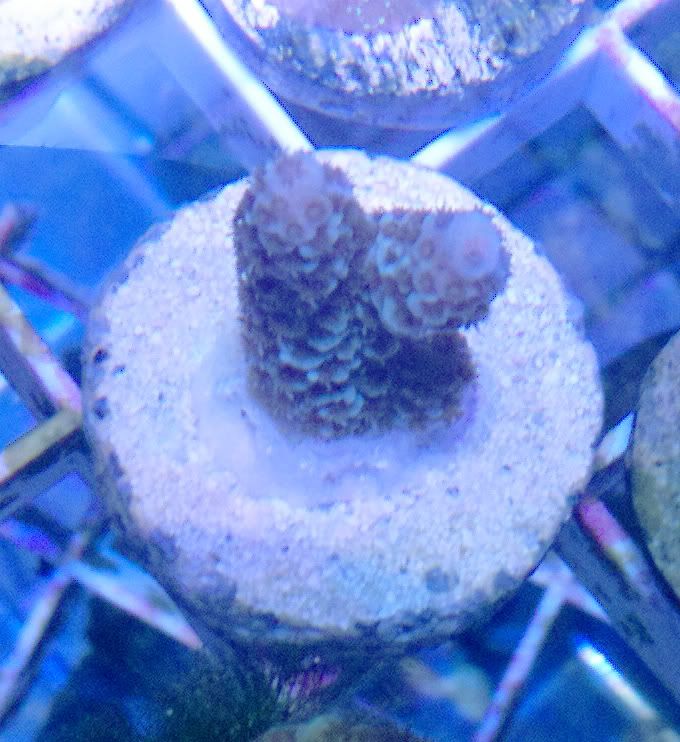
It has lots of space for corals. Frag plugs fit perfectly in little holes here.
bottomarchsiderocks.jpg


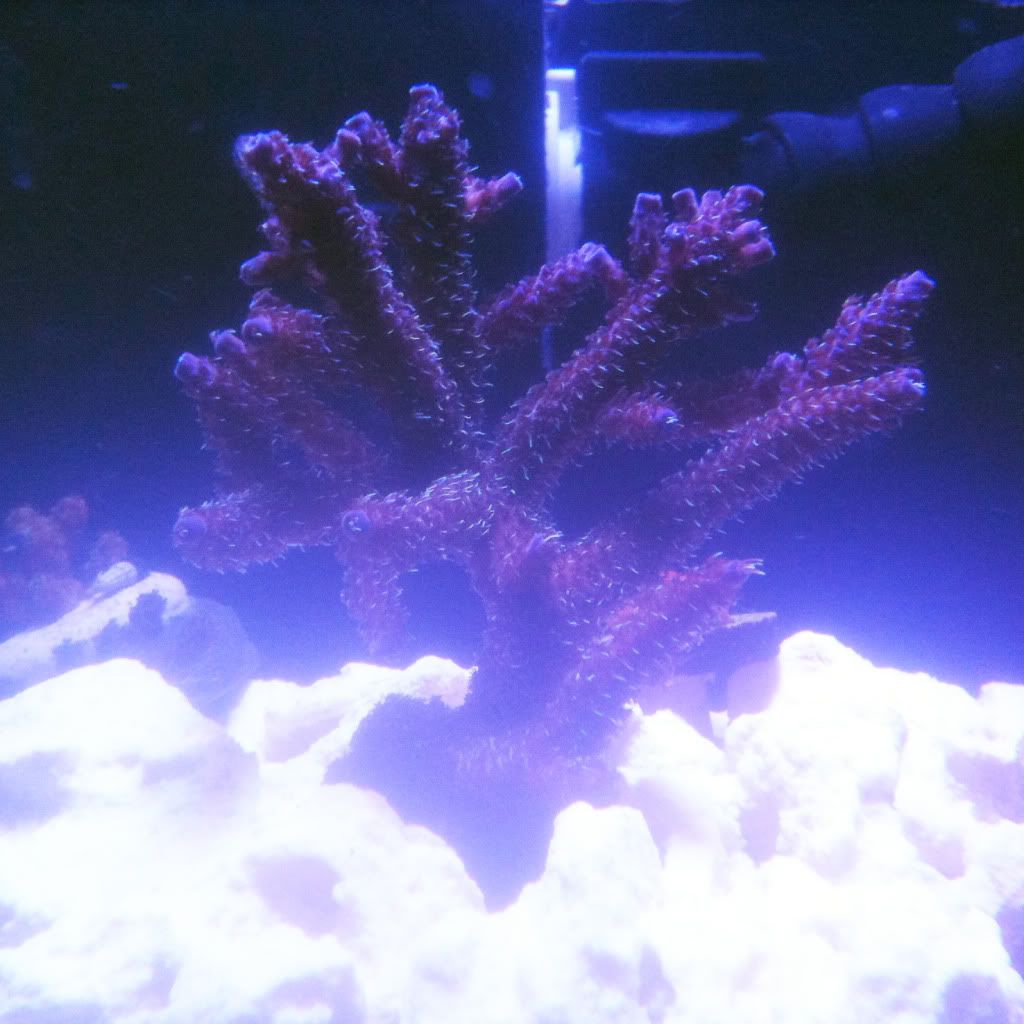
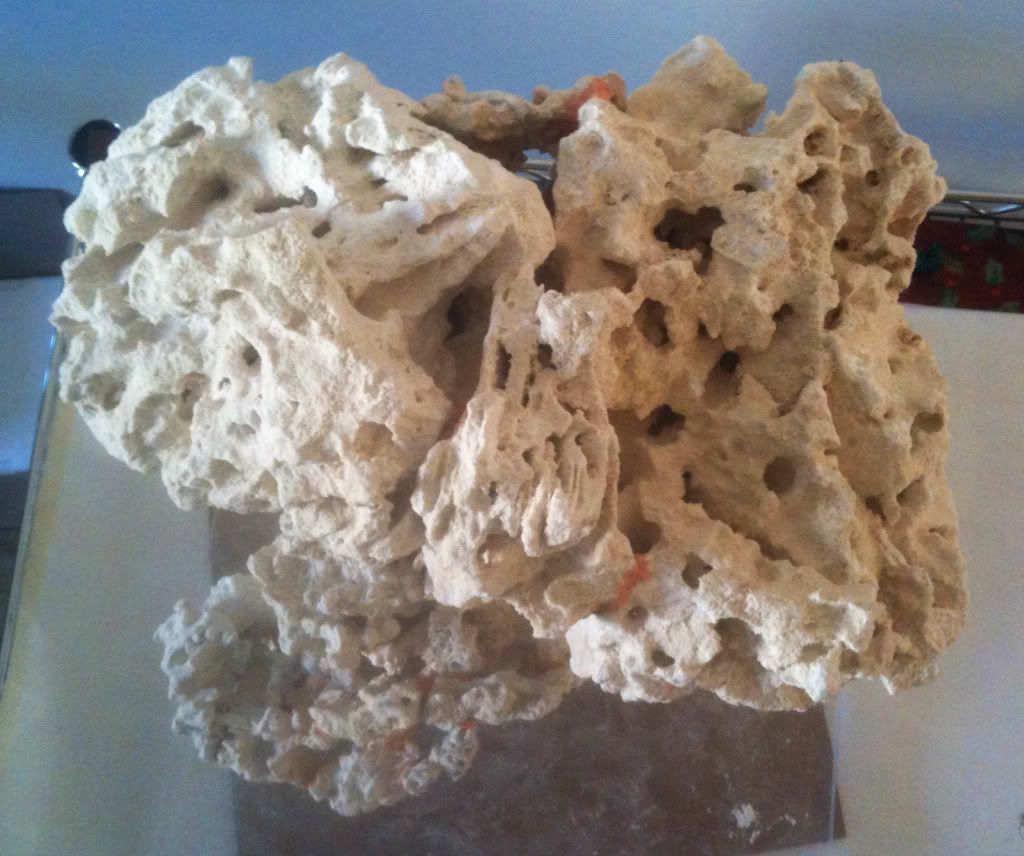
Again, I made this area on top to serve as an SPS garden:
toprocks.jpg


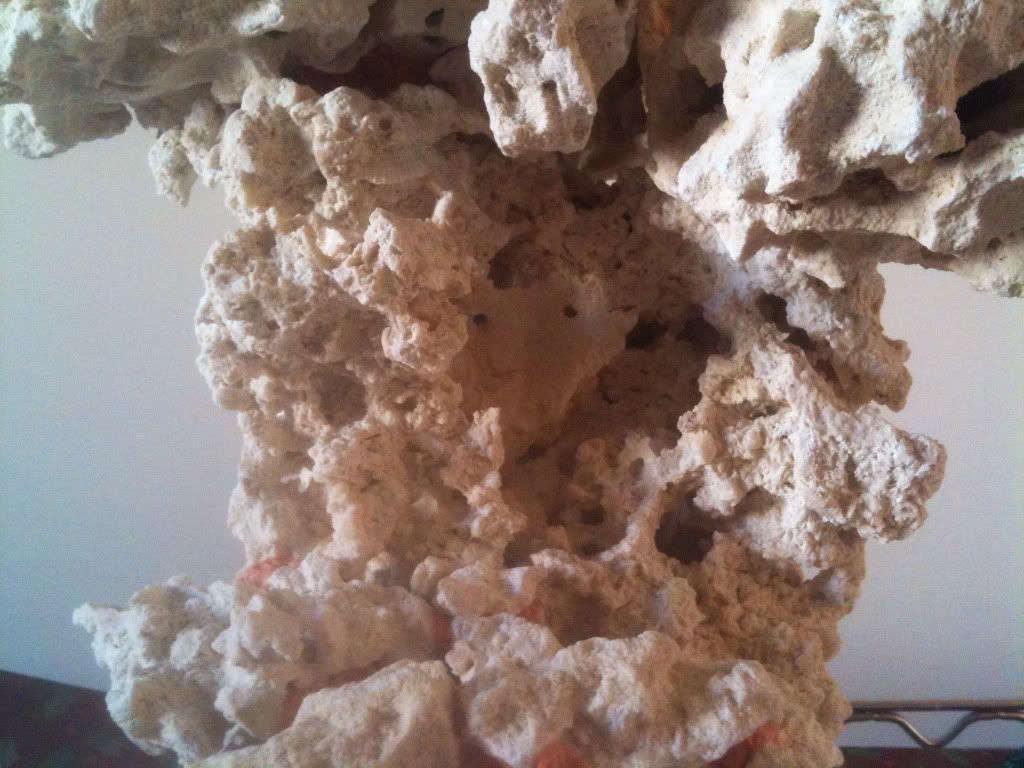
Finally, it's hard to tell from the photo, but this area is recessed underneath the SPS garden. Since it's in the shadows, I plan to eventually use it for some Sun Corals. Though, that won't be until the tank has been nicely established and I'm ready to crash it. LOL!
underrockspace.jpg


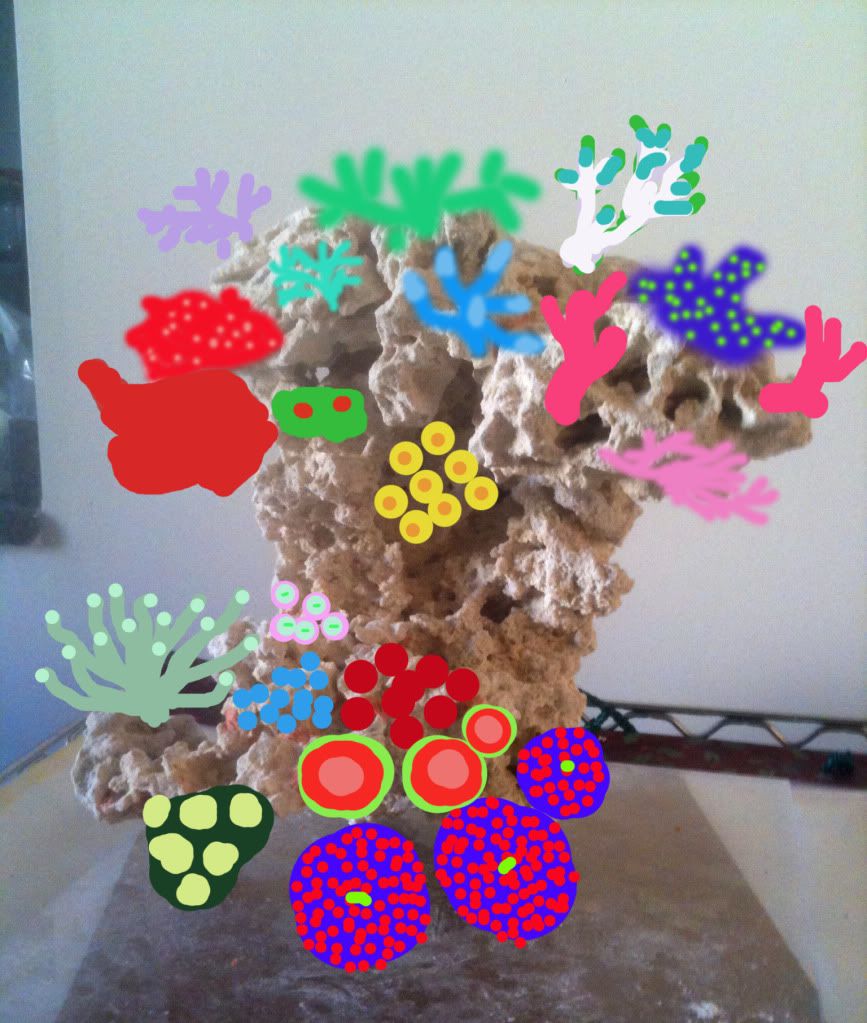
I took a little time to draw in the corals.
coralsonrocks.jpg


coralsonrockstext.jpg


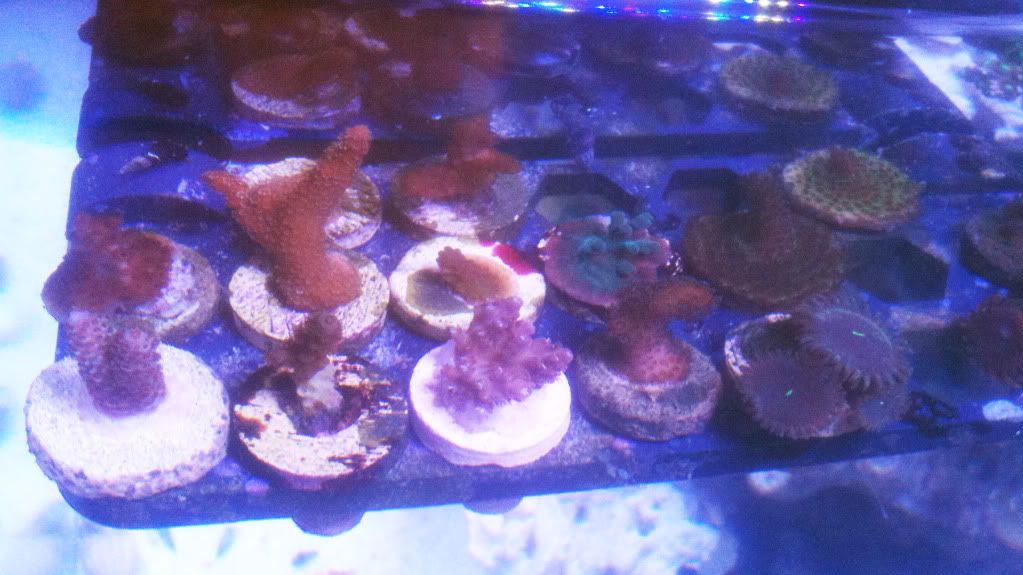
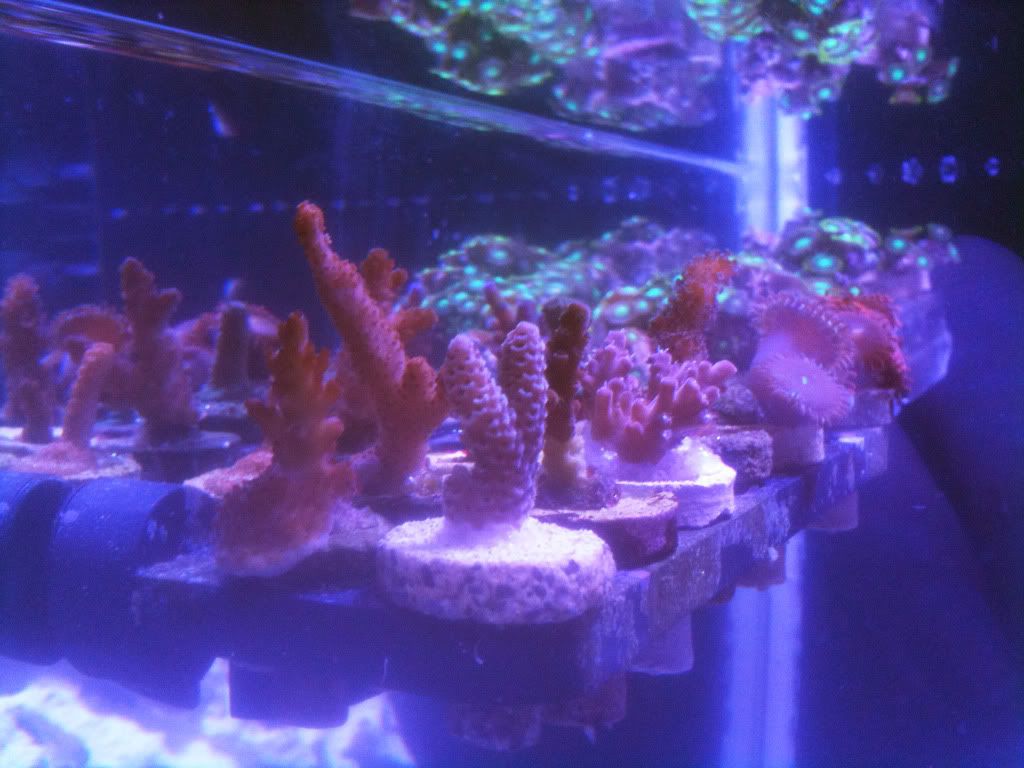
I have most of these corals going in my frag tub right now. The only ones I'm lacking are the Torch, the Sun Corals, and the Tub's Blues. I want the Torch for my clowns to enjoy and for some added movement to the tank.
 
Have u used the typhon yet? I mean how's it working out for u? I just ordered one and was curious if u had any tips or suggestions? Pros/cons?

Seems like a pretty user-friendly device. The only disadvantage is that I like to cram in two light cycles/day. The programming only allows for one. Though, this could be changed if you edit the code. I'm not about to attempt that however.
 
Eric, this is going to be so cool! I love your drawing skills! :p When you're ready come over for some killer SPS out of my tank that I'll frag for ya.
 
So, I'm continuing to work on this thing between baby feedings and mostly on the weekends. This weekend I got a considerable amount done and ran into more hurdles.

The plumbing is done for the most part. Here's what I've got going above and below, behind the overflow:
plumbing02.jpg

The Herbie is made of 3/4" and the return is 1/2".

I have since used some silicone to attach the overflow. I've been testing the seal and having issues. To start out, the seal looks pretty sloppy. It feels pretty solid, but after some research, I learned that there is not really a good way (at least not super permanent) to seal acrylic to glass!
headdesk.jpg

WTF!!! I thought everyone made their overflows out of acrylic! I'm thinking I'll go get some glass cut and seal that in place first. Then, attach the acrylic overflow in front of it.
That also means that I'm likely to have issues with my sump/fuge. I made the patricians out of acrylic for this as well. I think I'll have to redo it. At least the acrylic wasn't expensive.
Delays, delays, delays..

The second hurdle I encountered occurred this morning. I decided to put my rock pillar in the tank just to see how it looks. During this process, part of the structure came apart. I'm all out of epoxy and will have to get some more to re-secure the pieces. Though, I'm going use a more standard two part and super glue this time. I think the stuff I used is okay for more solid pieces, but on a small scale doesn't seem to hold up so well.

Finally, another thing on the list of projects to check off the list is this shelf:
lightshelf.jpg


I rigged this up with a couple of 20" brackets and a 15" x 15" piece of acrylic. As you can see, I haven't taken off the protective coating from the acrylic yet, but I anticipate that it will look pretty clean once I do. I'm going to set my LED build on top. It is centered over the tank about 8" up (I guess that will make it 9" from the surface of the water). I'm thinking that I might want to add some optics to my LED after a while.

That's it for now..
digging.gif
 
Update 2012.02.22

Almost wet...

FTS 2012.02.22
FTS20120222.jpg


The plumbing is FINISHED! I'm in the midst of water test number two. I've put together and taken this thing apart enough times now that I could do it in my sleep.

The first water test was moderately successful, in that I noticed leaks and knew I could fix them. There was a small leak at a joint of the overflow, and also in some of the plumbing. I added another layer of silicone (clear this time, I accidentally bought white the first time, D'oh!) to the overflow and used teflon tape on the threaded joints. Additionally, I came across a silicone fusing tape at the hardware store when I was picking up the teflon tape. It was only $10, so I figured WTH. It was very easy to use and sticks to itself. 'Might not be necessary, but it's a little added insurance the helps me sleep at night. It's the red stuff:
Plumbing20120222.jpg


Here's a crappy pic of the sump/fuge...poor lighting + iPhone = :(
sumpandfuge20120222.jpg

You can see the basic layout that I sloppily siliconed in place (pfft! whatever..). Everything in there is acrylic. It should be glass, but I'm getting really tired of all this. So, I just went for it. This is the 7 gallon Mr. Aqua cube. It's a pretty low volume of water for the sump, but was really all that would fit in my stand. I'm considering to replace the whole thing down the road with a larger custom acrylic setup from glasscages.com.

I T-ed off the return pump and am using a ball valve to go into the fuge. I'll close it off for the most part to have a reduced flow. Also, in the fuge is a small drain at the bottom that leads to the return area. This essentially turns the whole fuge into a water supply for the return in case I have excess evaporation.

One thing I noticed during the first water test is that my pump was a bit loud. I'm not sure if maybe there was air in there or what, but if that keeps up, I'll have to replace it. Right now I have a Maxijet 900 in there. Verdict pending..

This morning, I put water in just the overflow to test the seal again (water level is above the lower pipe (gate valve checks out!)). You can see I had some glass cut and siliconed the acrylic overflow in front of it. So far, so good. If I don't see any leaks when I get home I'll do another complete water test of the whole setup. If that checks out till the end of the week, I'll be making about 30 gallons of RO/DI and get everything going.
overflowtest20120222.jpg


Wish me luck!
 
FTS 2012.02.28
FTS20120228.jpg


All the plumbing seals held during the test last week. So, over the weekend I positioned the rock pillar and added sand. Then, I filled up the tank with salt water. The dust finally cleared last night and I added some live rock this morning from my frag tank to seed the dry stuff and get everything going. I'm considering today the first official day of reef life in my new cube. I can't believe it's finally happening. I feel like celebrating!

Whoopie!!!
 
Update 2012.03.04

Hello All! This post is a couple days late, but here it is. I successfully transferred over all the coral and live rock from my frag tank into my cube. It's an utter mess right now with frags everywhere, but I'm starting to clean it up.

Here's a FTS and side view. The tank is actually viewable from three sides, but these images give the basic idea. The contrast between the white rock and black background was messing with my camera. Also, the blue LEDs were really pushing the detector to the edge.
FTS20120304C.jpg

FTSSide20120304.jpg

Once the rock pillar colors up and takes on a well established bacteria colony, I'll begin to remove some of the excess live rock that was added from my frag tank.

A note on the LED's: The setup is about 9 inches about the water and even with all the overhangs I have from the rock pillar I am seeing ZERO COLOR SHADOWING! Woohoo!

Here are some SPS frags that I'm growing out to be placed on the top of the rock pillar.
fragrack20120304B.jpg

fragrack20120304.jpg


The hermit crabs are hamming it up.
upsidedownhermit20120304.jpg


As for the clowns, they immediately established territory in the little cave right behind the clam. This is awesome because this location is dead center in the front of the tank (I was afraid they'd choose some stupid area in the back.). So, I see them all the time. They're actually starting to show signs that they are trying to host the clam. I'm not so sure I like that. I'll be getting a torch soon. So, hopefully they will realize that that is a bit better.

Here's a close-up of the centerpiece of my SPS garden so far. It's a Palmer's Blue Millepora. Thanks poidog! ;)
Palmers20120304.jpg


I'm also really excited about this minty looking milli. Hopefully, it will be ready to add soon.
MintyMilli20120229.jpg


That's it for now. Mr. M out!
 
OMG!! This is all so fancy!! Nice setup and your drafting skills are on point. This makes me want to breakdown my tank and start over.

I love the aquascaping.
 
Thanks chgoblknazn! The aesthetics of the build and aquascape in general are very important to me. Just wish I had a better camera to capture it all.

My next step is to hide all the stupid ugly cords. I think I'm going to drill another hole in the back of the stand and install a 12 volt fan to blow out heat and moisture. Then, I'll be able to mount a powerstrip and the MP10 controller inside the stand. My goal is to have just one cord coming out or the stand to the wall outlet. I'll probably install a GFO on that outlet as well (probably should have done that a while ago).
 
Back
Top