112g Long and Shallow Custom Build

  • Thread starter Thread starter Ptrainer262
  • Start date Start date
P

Ptrainer262

Guest
After only being in the hobby for a very short while...we decided to go big. Really big compared to our 29g Biocube. I'm amazed at how much my kids have learned already and love that they get excited over something else other then the TV and video games...

So here it is, from the beginning....

I really like shallow tanks. I knew that was the route I wanted to take, but had a really hard time finalizing the dimensions. We ended up going with
72"L x 20"D x 18"H. And after posting my earlier thread on here re: custom tank builders, we went Anthony@Nano Sea Creations per several reccomendations including "soggy pockets" who has really helped us with this new venture. -Thank you :)

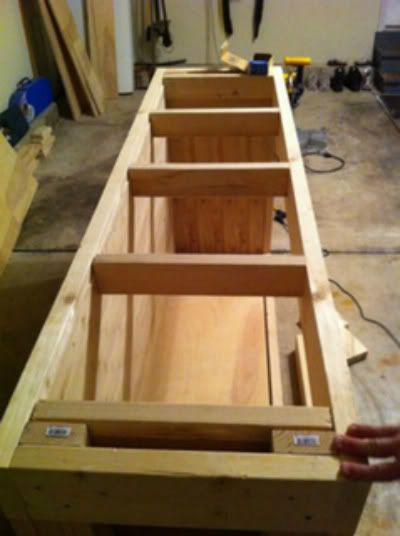
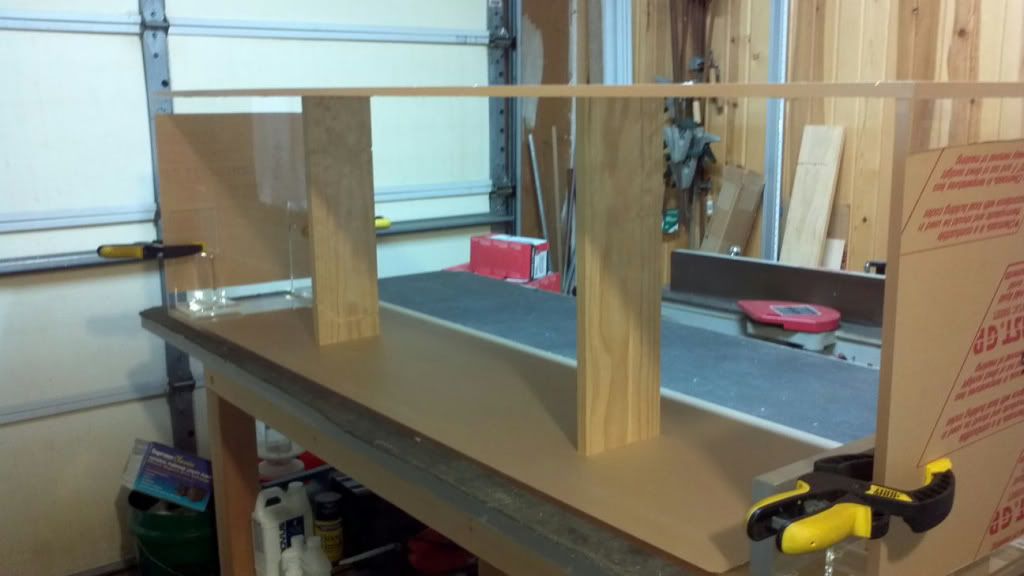
After deciding on the dimensions, to save us some cash, we decided to make our own stand. I'll state now that my husband and I have VERY little woodworking knowledge. We used a diagram off of RC as our blueprint, but made tweaks here and there(enough tweaks that after my father in law saw the finished base, he said, "we could put an elephant on the stand and still be ok" lol). Well, better safe then sorry right?

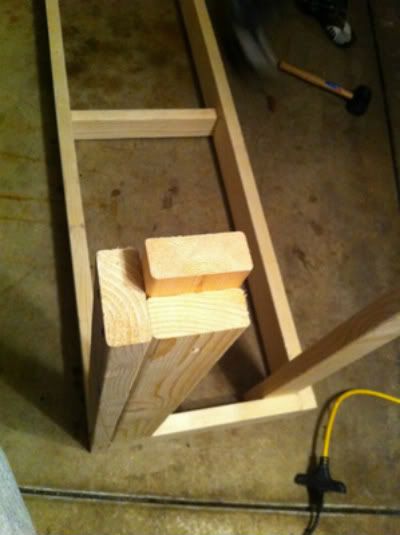
Here is the top and bottom frame
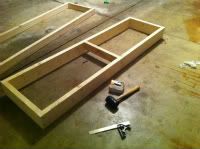
IMG_6848.jpg


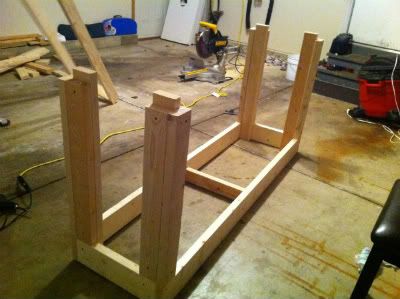
Upright supports
IMG_6849.jpg


All 4 uprights
IMG_6850.jpg


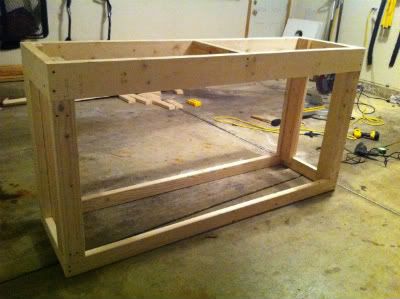
base coming together...
IMG_6851.jpg


and then the tweaking begins....
 
This one will be cool. :) What will you use for lighting?

After WAY too much reading, weighing all the options, and driving myself(and my husband)nuts, the choice was between the ATI PM T5's, LED's or the combo of both, we decided to go with the Ecotech Radion.
 
Awesome! Three I assume?

Just 2 temporarily for now. My birthday/Mothers Day is right around the corner so I'm keeping my fingers crossed for an amazing present, maybe? :)
So for the time being I have to strategically place what I currently have and anything new coral/clam wise till I get the 3rd up and running.
 
Here are some more progress pics of the stand...

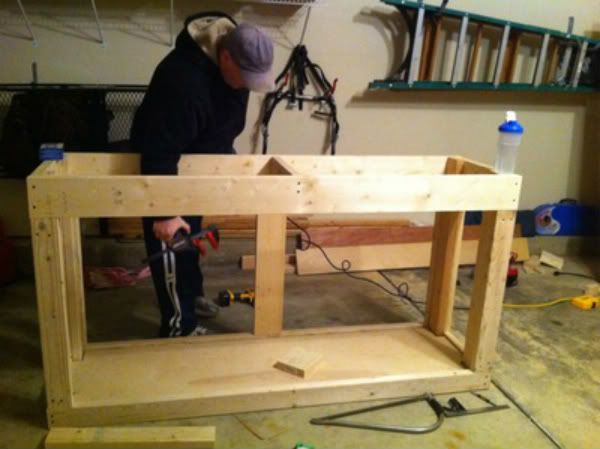
Added the bottom and starting to add some extra support to back of stand
IMG_6862.jpg


top support
IMG_6872.jpg


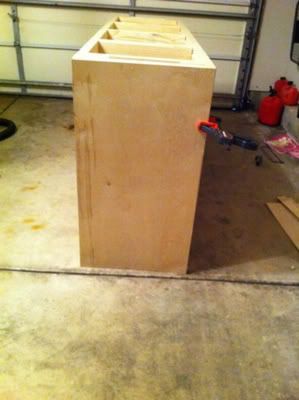
starting to skin the sides
IMG_6873.jpg


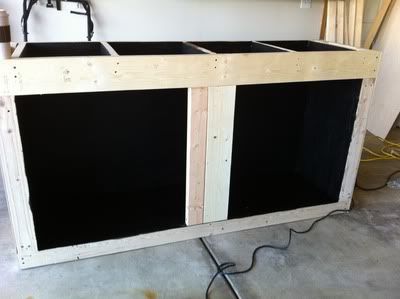
Good thing I only stained the inside at this point. I went the "easy" way and used Minwax Polyshades which could have been a BIG mistake if I stained it all at once. We originally were going to go with the black stain but after I was done with the inside, I realized I didn't like it. Most of our furniture in that part of the house is a dark black brown and wanted something more like that. Walnut wasn't dark enough, so after a little searching I figured out I needed to mix Mission Oak w/Black (2:1) for the color I was looking for. This is after the black... and added center upright support
IMG_6906.jpg
 
just came home from picking up 1 of my sumps and a frag tank from Anthony... saw your tank being built... well, I saw the pieces cut.. going to be a nice tank.
 
just came home from picking up 1 of my sumps and a frag tank from Anthony... saw your tank being built... well, I saw the pieces cut.. going to be a nice tank.

You did?! I can't wait! :)

How big is the frag tank that he made for you? I know he has been pretty busy lately- which is a great thing!
 
Nice work! looking forward to watching the build progress :) Also glad to see other folks in the area!

Thanks Eric! :)
- you are really close actually! I have a client right on the edge of Gilberts and Elgin so I'm over that way all the time. I'll be happy when they open Big Timber back up! Thank goodness for McCormack!
 
Some more pics :)

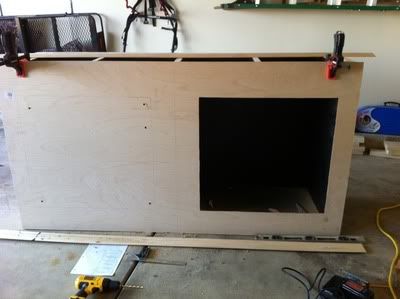
Skinning the front
IMG_6907.jpg


... And cutting out space for doors
IMG_6908.jpg


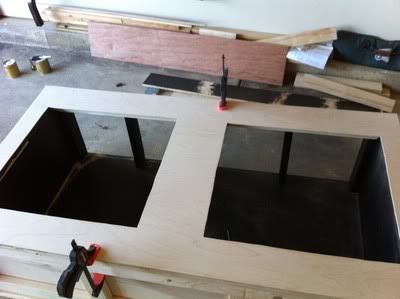
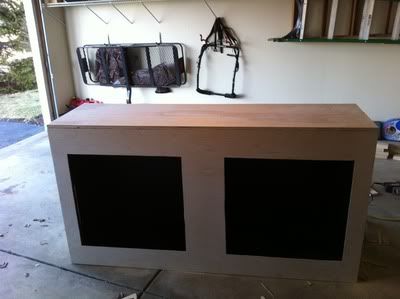
Added top of stand... Really coming together at this point :)
IMG_6911.jpg


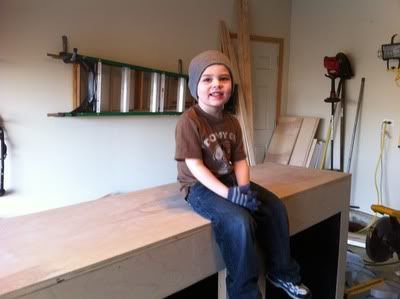
And this is my son, Braeden. Braeden has Autism and the biggest reason for the upgrade. He knows the name of all our fish, even ones we don't have(yet).... He loves to go to the LFS and name everything he sees and enjoys watching anything ocean related. Oh ya.... swimming in the ocean too! Don't get too close to our current tank. He has taken ownership and will let you know it :) Braeden has inspired me in so many ways and will continue to do so as we take Autism head on. In 4 1/2 years he has accomplished more then i ever thought was possible and he continues to make progress each and every day. This is for you Brae! Love you!
IMG_6913.jpg
 
Thanks Eric! :)
- you are really close actually! I have a client right on the edge of Gilberts and Elgin so I'm over that way all the time. I'll be happy when they open Big Timber back up! Thank goodness for McCormack!

Luckily, I'm near Big Timber and Tyrell, so the road closure isn't messing me up.
 
Luckily, I'm near Big Timber and Tyrell, so the road closure isn't messing me up.

Lucky! McCormack makes for a VERY dirty car! :(
I could take Tyrell over to Big Timber(coming from 47), but it seems so much further out of the way- although it probably isn't.
 
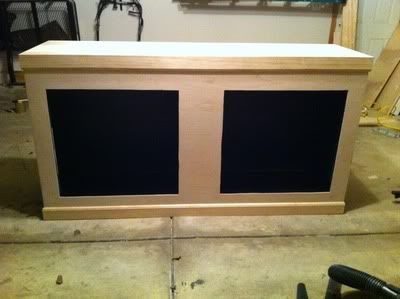
Added top and bottom moulding
IMG_6915.jpg


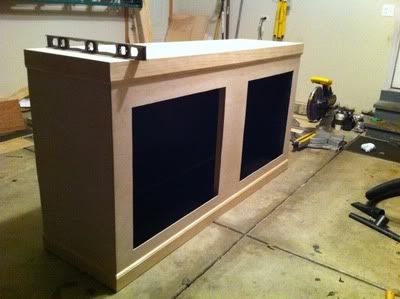
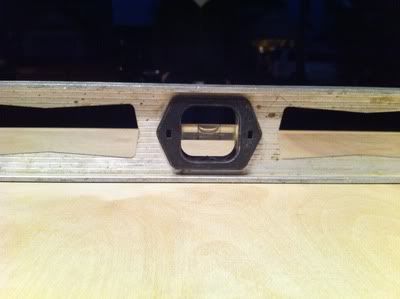
And we're level!
IMG_6918.jpg


Yay!
IMG_6916.jpg


...and I got a surprise text from Anthony
e27b200c.jpg

My Tank!!! :)

Originally the tank was going to go behind our sectional sofa on a short wall in family room. It made sense at that point to put the overflow twards the corner of the room, back right side. Well my husband decided he wanted the tank to go in a different location... Like the living room we are never in. No way! So his next suggestion was the main wall in our family room. I was having a hard time buying it because even though our sectional sofa can be configured how ever you want it, it's still a sectional. There isn't a lot of options for where it can go, especially in a smaller family room. We moved the whole room around and got rid of a huge bookcase to make this work.... But we made it work.
So now the overflow will be in the center per Anthony's opinion.
 
Back
Top